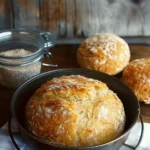
Introduction to My Mother’s Peasant Bread
When it comes to comfort food, few things can rival homemade bread. One of my fondest memories is watching my mother craft a simple loaf of bread that was, in its essence, a peasant bread. So, what exactly makes peasant bread special?
What is Peasant Bread and Why is it Special?
Peasant bread is a rustic, traditionally made bread that speaks to simplicity and nourishment. Its origins date back to European peasants, who baked bread using minimal ingredients like flour, water, salt, and yeast. The beauty of this bread lies in its versatility. It can complement any meal or serve as a quick snack, whether topped with a slice of chicken ham or paired with some cheese and veggies.
There are many reasons to love my mother’s peasant bread:
- Ease of Preparation: It requires just a few ingredients and minimal effort. If you’ve ever found yourself intimidated by bread-making, fear not! This recipe is straightforward enough for a first-time baker.
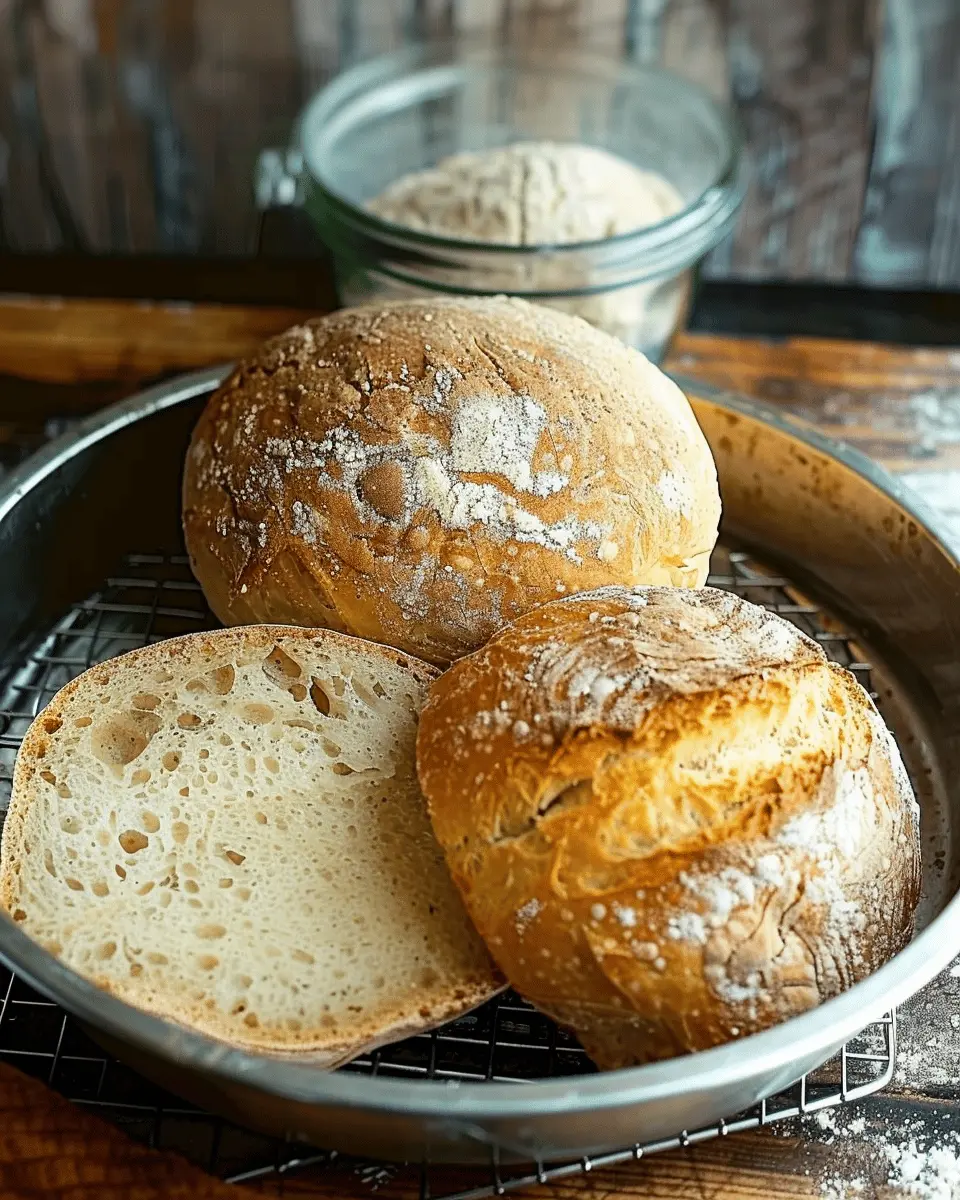
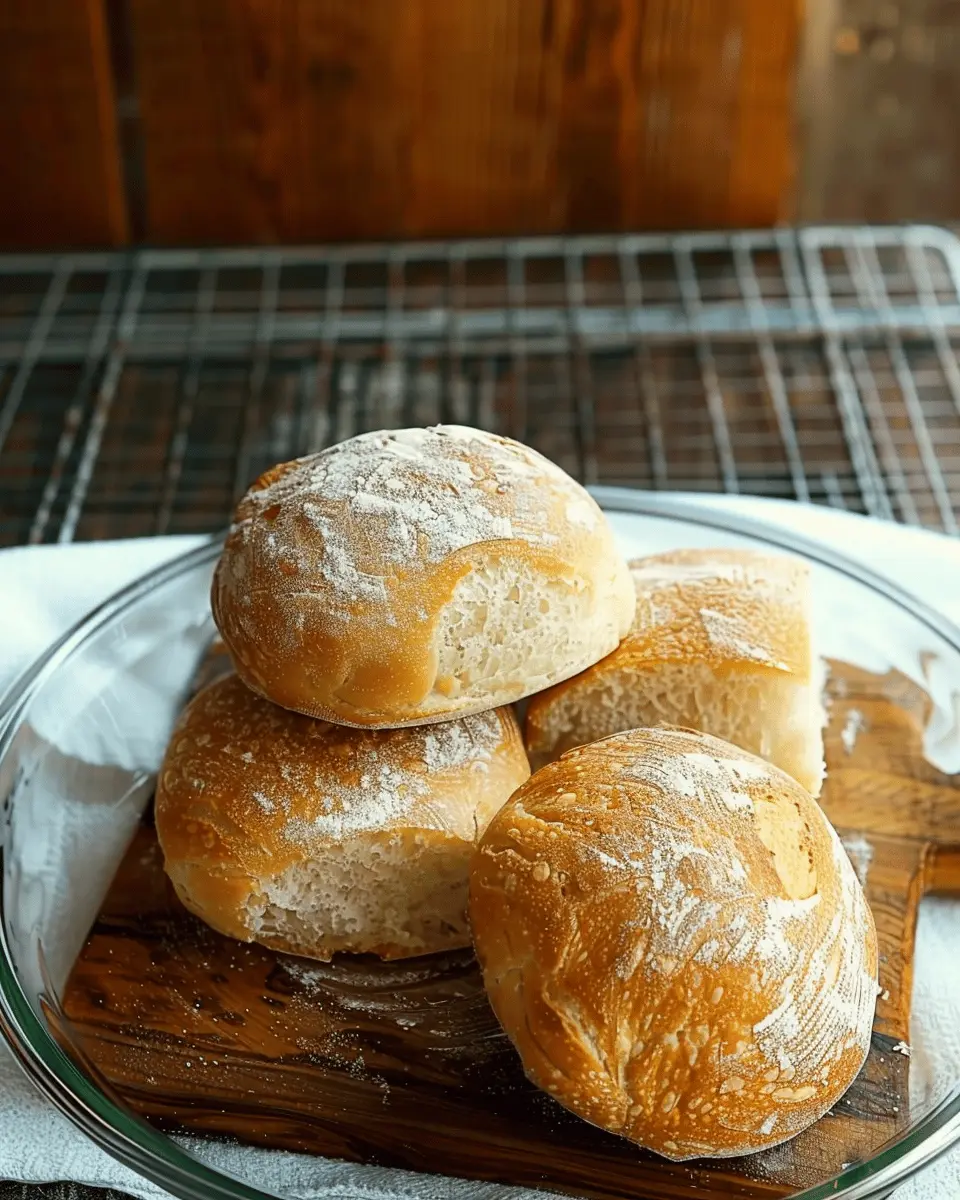
- Flavor and Texture: The bread comes out with a delightful crust and soft interior, a dream for anyone who loves that contrast. It doesn’t just fill your stomach; it satisfies your soul.
- Versatility: Excellent with butter, great for sandwiches, or ideal served with a hearty soup—my mother’s peasant bread can be whatever you need it to be for the moment.
According to the Bread Bakers Guild of America, the resurgence of home baking during the pandemic underscored the joy of making bread from scratch. Perhaps it’s the meditative process of kneading or the satisfaction of pulling a golden loaf from the oven, but the experience is undeniably gratifying.
In today’s fast-paced world, there’s something incredibly rewarding about preparing something so simple yet so fulfilling. So, are you ready to add a special touch to your meals? With my mother’s peasant bread in your baking repertoire, you’ll not only bring a slice of tradition into your kitchen but also create memorable moments with friends and family while sharing this delightful bread.
For more tips on baking and bread recipes, check out King Arthur Baking and America’s Test Kitchen. Happy baking!
Ingredients for My Mother’s Peasant Bread
Essential ingredients for the perfect loaf
Baking my mother’s peasant bread is an art, and it starts with simple, nourishing ingredients that you likely already Have at home. Here’s what you’ll need to create that perfect, crusty loaf:
- All-purpose flour: 4 cups for that light, fluffy texture.
- Warm water: 1 ½ cups, ideally around 110°F to help activate the yeast.
- Instant yeast: 2 teaspoons for effortless rising.
- Salt: 2 teaspoons to enhance flavor.
- Sugar: 1 tablespoon to feed the yeast and light up the loaf.
These core ingredients combine to create a beautifully rustic bread that everyone will adore.
Optional ingredients to customize your bread
Want to add a twist to my mother’s peasant bread? Consider these optional ingredients:
- Olive oil: 2 tablespoons, for a richer taste and softer texture.
- Herbs: Fresh or dried basil, rosemary, or thyme add a delightful aroma.
- Seeds: Sprinkle in sesame or sunflower seeds for added crunch.
- Cheese: Sharp cheddar or feta can elevate your bread experience.
Feel free to experiment, and let your imagination guide you. Each of these additions not only enhances flavor but also lets you personalize the loaf to suit your taste! For more tips on baking bread, check out King Arthur Baking or The Kitchn for inspiration and techniques. Happy baking!
Preparing My Mother’s Peasant Bread
Making my mother’s peasant bread is more than just a baking project; it’s an experience rooted in love and tradition. This rustic loaf is not only easy to make but truly rewarding. Here’s how to prepare it step by step—let’s dive in!
Gather All Your Ingredients
Before diving into the mixing bowl, arrange your ingredients. Here’s what you’ll need for this simple yet delightful peasant bread:
- 4 cups all-purpose flour
- 2 teaspoons salt
- 2 teaspoons active dry yeast
- 1 tablespoon sugar
- 1.5 to 2 cups warm water (about 110°F)
- 2 tablespoons olive oil (optional for a richer flavor)
Ensure your yeast is fresh; expired yeast can ruin your bread-making dreams. If you’re unsure about how to test it, simply mix a teaspoon of sugar with warm water and a packet of yeast. If it bubbles within 5-10 minutes, you’re good to go!
Mix the Dry Ingredients
In a large mixing bowl, combine the flour, salt, and yeast. Whisking these ingredients together is crucial for even distribution. Even though this step seems simple, it sets the foundation for a perfectly baked loaf. For a more in-depth look at proper bread-making techniques, you might find King Arthur Baking Company useful!
Create the Dough
Now, it’s time to introduce the warm water to your dry mix. Add the sugar and optional olive oil to the warm water, then gradually pour this mixture into the flour. Use a wooden spoon or your hands to combine everything until it starts to form a shaggy dough. This is the moment you can really feel your mother’s peasant bread beginning to take shape!
Knead the Dough with Love
Once your dough forms, it’s time for a little workout. Transfer it to a lightly floured surface and knead it for about 8-10 minutes. The goal here is to develop those gluten strands, giving your bread that fluffy texture we all crave. Do you remember your mother’s hands kneading dough? The warmth and rhythm are truly comforting!
First Rise – Letting the Dough Come to Life
After kneading, place your dough in a greased bowl and cover it with a kitchen towel. Let it rise for about 1-2 hours or until it doubles in size. This first rise is crucial; it gives the bread its characteristic lightness. You may want to take this time to prepare your favorite spread, be it herb-infused butter or a homemade jam—the options are endless!
Shape the Bread
Once your dough has risen beautifully, punch it down to release that lovely gas build-up. Transfer it to a lightly floured surface and shape it into a round or oval loaf, as desired. The shaping process is not just about looks; it helps develop the loaf’s structure.
Second Rise – Patience is Key
After shaping, let your loaf rise again on a baking sheet. Cover it with a towel and allow it to puff up for another 30-60 minutes. This proves truly rewarding; the aroma will begin to fill your kitchen, making it nearly impossible to wait!
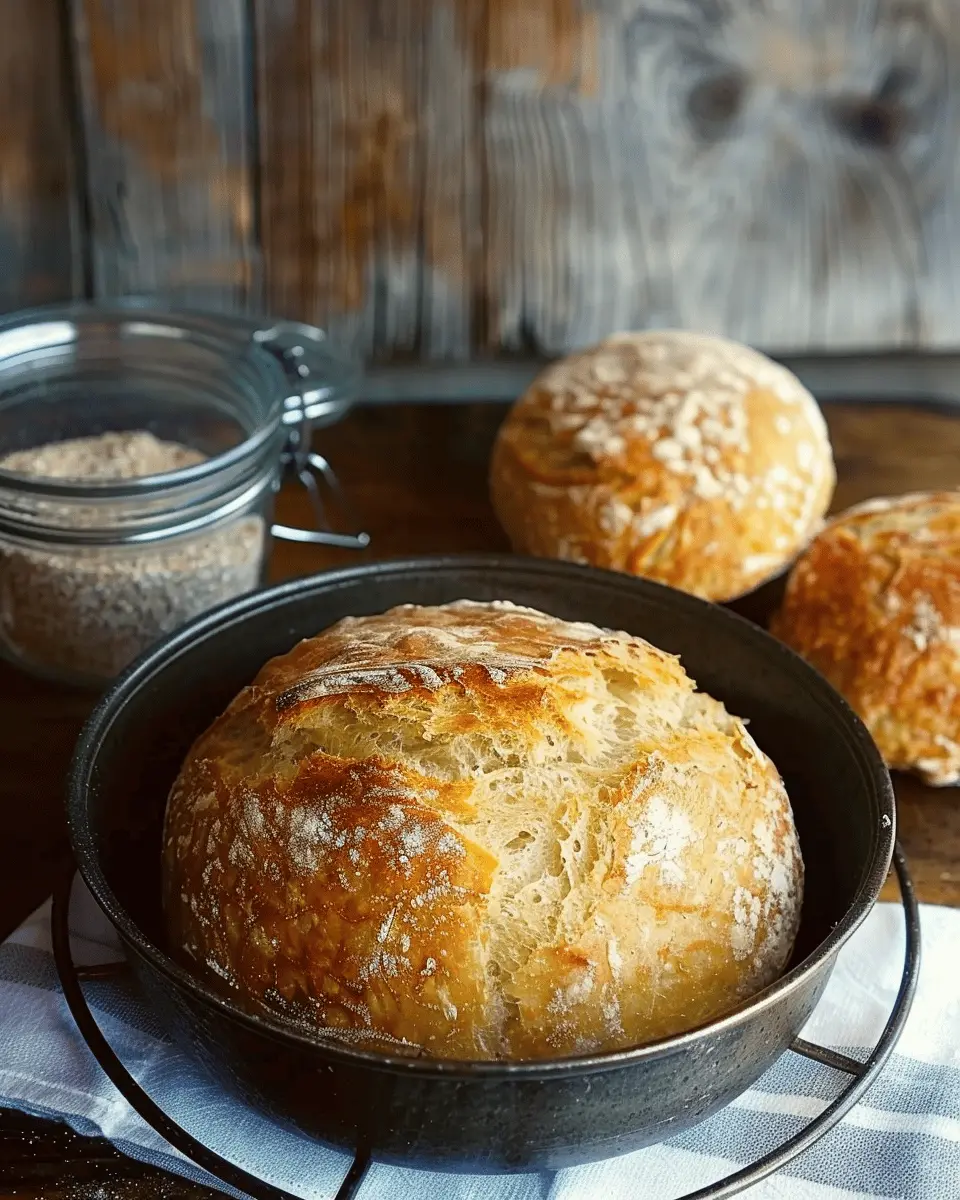
Bake to Golden Perfection
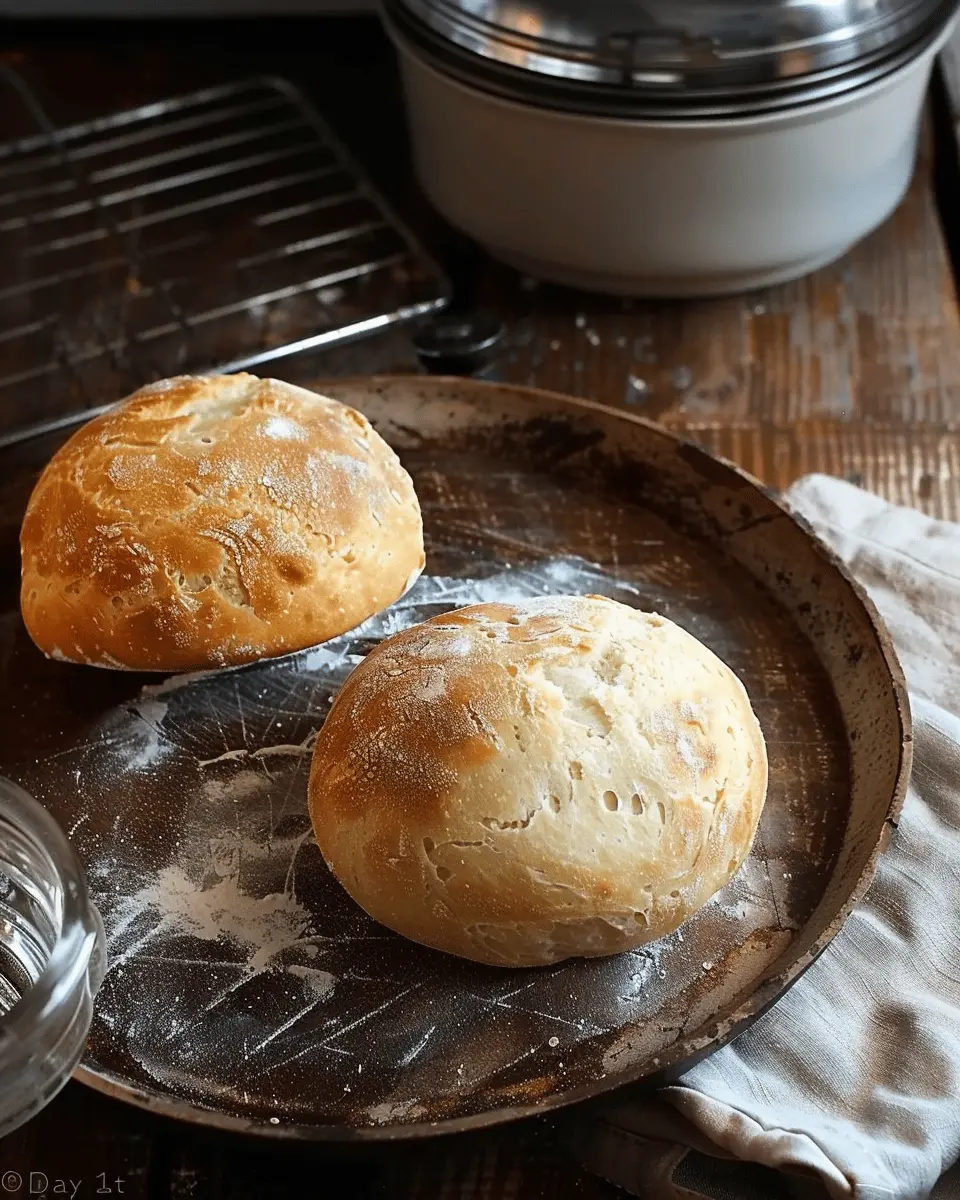
Now, the moment you’ve been waiting for—baking. Preheat your oven to 425°F (220°C). Bake your loaf for about 25-30 minutes or until it achieves a deep golden-brown color. The sound of a hollow tap on the crust signals a job well done. Let it cool on a rack before slicing, and enjoy the delightful aroma wafting through your home.
By following these steps, you’re not just making my mother’s peasant bread; you’re creating memories and embracing a timeless tradition. Baking is an adventure, and with each loaf, you’ll get more confident. Dive in and savor every moment!
Variations on My Mother’s Peasant Bread
When it comes to my mother’s peasant bread, its simple, rustic charm makes it endlessly versatile. You can easily adapt the base recipe to create variations that excite your palate and fit different occasions. Here are a few delightful twists you can try!
Herb-Infused Peasant Bread
Imagine the aroma of freshly baked bread wafting through your kitchen, enhanced by fragrant herbs. To transform your peasant bread, simply add:
- 2 tablespoons of your favorite herbs (like rosemary, thyme, or basil)
- A little extra garlic powder for that savory kick
Mix these into your dry ingredients before adding the wet ones. This variation pairs beautifully with soups or can be served as a flavorful side at family dinners.
Whole Grain Peasant Bread
For a heartier option, consider making whole grain peasant bread. Swap out half of the all-purpose flour for whole wheat flour. Not only does this add a nutty flavor, but it also boosts the bread’s nutritional profile. Plus, a growing number of studies highlight the benefits of whole grains in a balanced diet, making this a smart choice for health-conscious bakers.
Sweet Peasant Bread with Dried Fruit
If you have a sweet tooth, why not try a sweet twist? Fold in chopped dried fruits like apricots, raisins, or cranberries, and a sprinkle of cinnamon to the dough. This variation is perfect for breakfast or an afternoon snack. You might even want to drizzle a little honey over the top before serving, making it a delightful treat that’ll impress guests.
Whatever variation you choose, you’ll quickly see why my mother’s peasant bread remains a beloved staple in homes everywhere. What’s your favorite twist? Share your ideas!
Cooking Tips and Notes for My Mother’s Peasant Bread
When baking my mother’s peasant bread, it’s important to avoid some common pitfalls:
Common pitfalls to avoid
- Overkneading: This can lead to dense bread. Mix until just combined and knead gently.
- Temperature Troubles: Make sure your yeast is activated in warm (not hot) water. A good range is between 100°F and 110°F.
- Too Much Flour: Adding flour too quickly can make your dough tough. Gradually add flour until the dough is just slightly sticky.
Tools that make the process easier
- Stand Mixer: Using a stand mixer with a dough hook can save you time and effort, ensuring consistent mixing.
- Digital Thermometer: This helps you check the water temperature accurately, which is critical for yeast activity.
- Silicone Mat: A non-stick surface allows easy kneading and cleanup.
With a little care and these handy tools, you’ll be on your way to perfecting my mother’s peasant bread in no time! For more tips on bread-making, check out resources like King Arthur Baking for expert advice.
Serving Suggestions for My Mother’s Peasant Bread
Best spreads for toasted bread
To truly savor my mother’s peasant bread, try slathering it with some delightful spreads. Here are a few recommendations:
- Cream Cheese: A smooth layer can elevate the bread’s texture, especially with a sprinkle of herbs.
- Avocado: For a healthy twist, mashed avocado topped with salt and pepper can provide a creamy contrast.
- Nut Butter: Almond or peanut butter makes for a hearty breakfast option, adding protein to your meal.
- Hummus: This adds a flavorful, plant-based option that pairs wonderfully with the bread’s rustic charm.
Don’t underestimate the power of a good spread—they can transform my mother’s peasant bread into an artisanal delight.
Serving with soups and stews
One of the best ways to enjoy my mother’s peasant bread is alongside a warm soup or hearty stew. Think about serving it with:
- Tomato Basil Soup: The acidity of the tomatoes contrasted with the bread’s chewy texture creates a comforting duo.
- Beef Stew: A classic favorite, use the bread to soak up the rich, savory juices.
- Chili: The heat from the chili complements my mother’s peasant bread perfectly, making for a satisfying meal.
The versatility of this bread means it can complement a wide variety of dishes, enhancing your dining experience effortlessly. For more serving ideas, check out The Kitchn’s soup pairings for inspiration!
Time Breakdown for My Mother’s Peasant Bread
When you’re ready to whip up my mother’s peasant bread, knowing the timing is crucial. Here’s how it breaks down:
Preparation Time
Set aside about 20-30 minutes for the preparation. You’ll want to gather your ingredients, mix the dough, and get everything organized before letting it work its magic.
Rising Time
Patience is key here! You’ll need approximately 1-2 hours for the dough to rise. This is the time for it to double in size, which makes the bread fluffy and delightful.
Baking Time
Once it has risen, the baking itself takes about 30-40 minutes. Keep an eye on it; you’ll want that beautiful golden crust.
Total Time
All in all, the total time hovers around 2-3 hours, including the rising and baking. However, most of this is hands-off waiting time. If you plan ahead, you can enjoy a fresh loaf just in time for dinner!
Baking bread, especially my mother’s peasant bread, not only fills your home with a warm aroma but also makes for a fantastic conversation starter. Why not invite a friend over to share in the experience?
Looking for alternative bread recipes? Check out this article on The Perfect Sourdough for another twist!
Nutritional Facts for My Mother’s Peasant Bread
When you whip up my mother’s peasant bread, you might be surprised by its hearty nutritional profile. Packed with goodness, this rustic loaf not only satisfies your hunger but also delivers key nutrients that keep you energized throughout the day.
Calories
A single slice of this delightful bread typically contains around 80 calories. That makes it a perfect option for a light meal or snack, especially when paired with your favorite toppings like Turkey Bacon or fresh avocado.
Carbohydrates
You’ll find about 15 grams of carbohydrates in each slice. These are essential for giving you the energy boost you need, especially if you’re heading out for a run or tackling a busy workday. Whole grains provide better sustaining power than refined flour, helping you avoid those mid-afternoon slumps.
Fiber
One of the highlights of my mother’s peasant bread is its fiber content, coming in at approximately 2 grams per slice. Fiber is crucial for digestive health and can keep you feeling fuller for longer. Incorporating fiber into your diet can even contribute to better heart health by aiding in cholesterol management.
Want to dive deeper into nutritional details? Check out articles on healthline.com or webmd.com for insightful tips on balanced diets. If you’re curious about how to enhance the flavor and health benefits of your bread, adding seeds or nuts might just be the perfect touch!
FAQs about My Mother’s Peasant Bread
How can I make my peasant bread crustier?
If you love a crusty exterior on your bread, there are several ways to achieve that perfect crunch with my mother’s peasant bread. Consider placing a pan of water in the oven during baking; the steam it produces helps develop a beautiful crust. Another tip is to bake the bread at a higher temperature for the first 10-15 minutes, creating a robust outer layer while keeping the inside soft and chewy.
Can I use whole wheat flour instead of white flour?
Absolutely! Substituting whole wheat flour for white flour in my mother’s peasant bread is a fantastic option if you’re looking for a healthier alternative. Just keep in mind that whole wheat flour tends to absorb more liquid, so you might need to adjust the water in your recipe. Start by replacing half the white flour with whole wheat and see how it turns out!
How do I store leftover peasant bread?
To keep your leftover peasant bread delightful, wrap it in a clean kitchen towel or place it in a paper bag. This helps maintain the crust while keeping the inside fresh. If you expect to keep it longer than a few days, consider slicing the bread and storing it in an airtight container to prevent drying out.
Can I freeze my peasant bread?
Yes, indeed! Freezing my mother’s peasant bread is a great way to preserve it for later enjoyment. Slice the bread, wrap each slice in plastic wrap, and then place them in a freezer-safe bag. When you crave a slice, simply toast it straight from the freezer or let it thaw at room temperature. For tips on proper freezing techniques, you can check out resources from FoodSafety.gov.
These tips should help you make and enjoy my mother’s peasant bread to the fullest! Do you have any other questions? Don’t hesitate to reach out!
Conclusion on My Mother’s Peasant Bread
There’s something incredibly satisfying about making homemade bread. The aroma wafting through your kitchen brings an immediate sense of warmth and nostalgia, a reminder of family gatherings and shared meals. My mother’s peasant bread embodies this joy with its simple ingredients and effortless preparation.
Not only is it deliciously comforting, but it’s also a delightful project to tackle. Whether you’re new to baking or a seasoned pro, there’s a profound pleasure in kneading the dough and watching it rise—symbolizing patience and care. So, gather your ingredients, roll up your sleeves, and dive into making my mother’s peasant bread; it’s sure to become a cherished staple in your home.
For more baking inspiration and tips, check out King Arthur Baking for expert advice and resources or explore The Kitchn for a variety of bread recipes that can brighten your culinary repertoire.
PrintMy Mother’s Peasant Bread: The Easiest Bread You’ll Ever Make
My Mother’s Peasant Bread is a simple and delicious recipe that requires minimal ingredients and effort, making it the perfect introduction to bread-making.
- Prep Time: 15 minutes
- Cook Time: 35 minutes
- Total Time: 2 hours
- Yield: 1 loaf 1x
- Category: Bread
- Method: Baking
- Cuisine: European
- Diet: Vegetarian
Ingredients
- 4 cups all-purpose flour
- 2 teaspoons salt
- 2 teaspoons sugar
- 1 tablespoon active dry yeast
- 1 ½ cups warm water
Instructions
- In a large mixing bowl, combine the warm water and sugar, then sprinkle the yeast on top. Allow it to bloom for about 5 minutes.
- Add the salt and flour gradually, mixing until a dough forms.
- Knead the dough on a floured surface for about 10 minutes until smooth and elastic.
- Place the dough in a lightly greased bowl, cover, and let it rise for about 1 hour or until doubled in size.
- Preheat your oven to 375°F (190°C).
- Punch down the risen dough and shape it into a loaf. Place it into a greased loaf pan.
- Let the dough rise again for 30 minutes.
- Bake in the preheated oven for 30-35 minutes or until golden brown.
- Remove from the oven and let cool before slicing.
Notes
- For an extra flavor, consider adding herbs or garlic to the dough.
- This bread can be made ahead of time and freezes well.
Nutrition
- Serving Size: 1 slice
- Calories: 150
- Sugar: 1g
- Sodium: 230mg
- Fat: 2g
- Saturated Fat: 0g
- Unsaturated Fat: 0g
- Trans Fat: 0g
- Carbohydrates: 28g
- Fiber: 1g
- Protein: 4g
- Cholesterol: 0mg
Keywords: peasant bread, easy bread, homemade bread