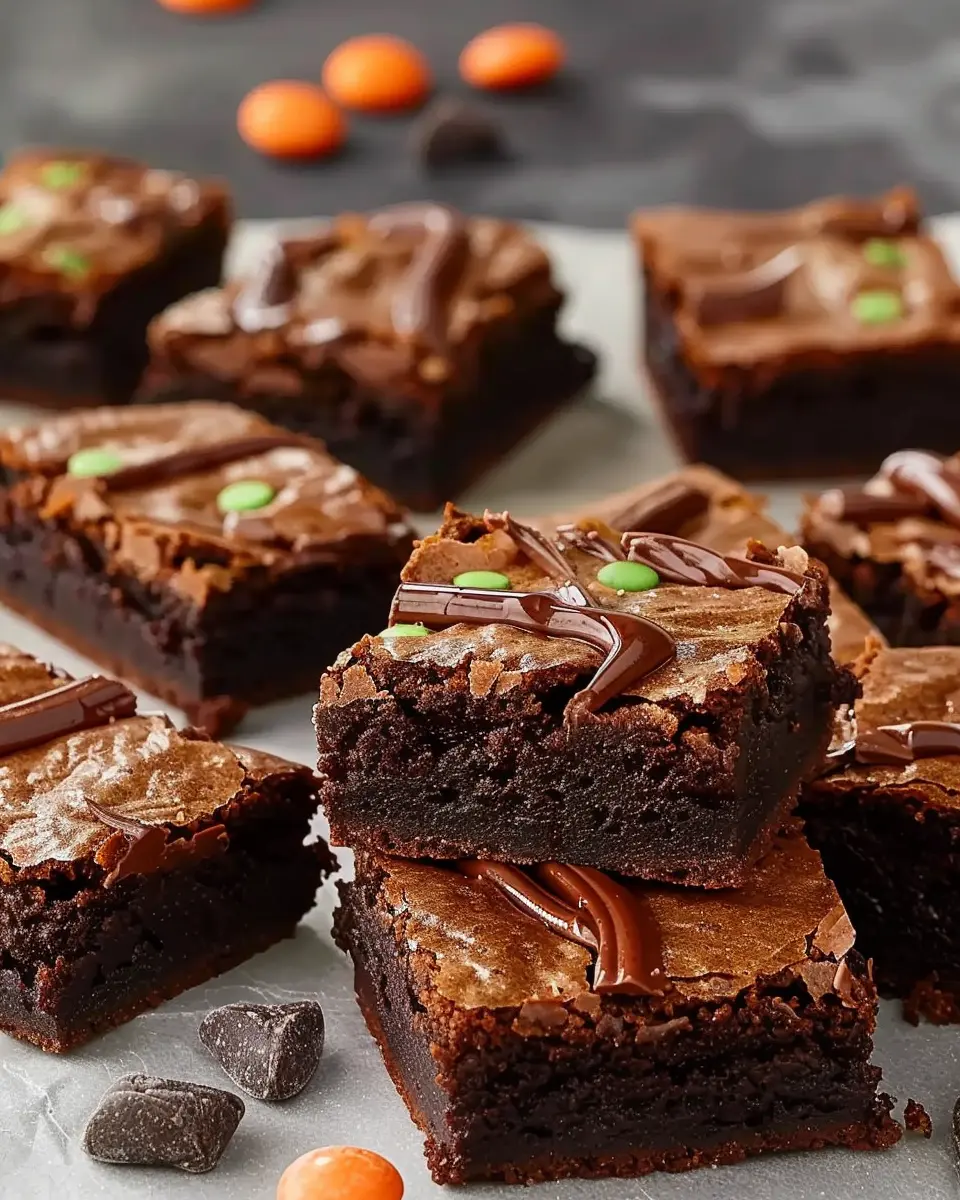
Introduction to Graveyard Brownies
If you’re looking for a dessert that brings a fun, thematic twist to your gatherings, graveyard brownies are your answer! These delightful treats not only taste fabulous but also add a playful vibe that appeals to guests of all ages. Imagine a pan of rich, fudgy brownies topped with an assortment of creative decorations that conjure up the spirit of Halloween or any spooky celebration. Let’s dive into why these sweet delights are the perfect fit for any occasion.
Why Are Graveyard Brownies Perfect for Every Gathering?
Graveyard brownies are the ultimate crowd-pleaser, breaking the ice and sparking conversations among guests. Their visual appeal—think chocolatey goodness combined with ghostly decorations—makes them a festive centerpiece at birthday parties, Halloween festivities, or informal get-togethers.
-
Customizable Fun: One of the best things about graveyard brownies is their versatility. You can modify the decorations based on your theme. Want something sweeter? Try marshmallows or gummy worms. Prefer a more sophisticated look? Incorporate chocolate ghosts and tombstone cookies. The options are endless, and your creativity can truly shine.
-
Easy to Make: Who has time for complicated desserts? Graveyard brownies are straightforward to whip up. Start with your favorite brownie recipe—whether it’s from scratch or a box mix—then layer it with frosting and fun toppings. It’s a breeze even for those who aren’t kitchen whizzes!
-
Perfect for Sharing: In a season where camaraderie is the norm, sharing is caring. Brownies are easy to cut into squares, making portion control uncomplicated. Plus, they travel well if you’re heading to a potluck.
-
Engagement Factor: Imagine your guests’ delight as they dig into brownies disguised as gravestones or skeletons. Not only will they satisfy sweet cravings, but they also serve as icebreakers, making socializing effortless.
So whether it’s Halloween or your next casual gathering, graveyard brownies offer deliciousness wrapped in an engaging and thematic package. They’re not just desserts—they’re a way to create fun memories. Check out more inspiring ideas for your gatherings at sites like Delish or Taste of Home for additional recipes and tips.
Let’s get cooking and elevate your next event with these creative brownies!
Ingredients for Graveyard Brownies
When it’s time to whip up some spooky treats, these graveyard brownies are an absolute must. They’re not just delicious; they’re a great way to get creative in the kitchen, especially during the fall season. Let’s dive into what you’ll need to create your own graveyard masterpiece!
Essential Ingredients
- Brownie Mix: You can use a boxed mix for simplicity or make your own from scratch with cocoa powder, flour, and sugar for that extra homemade touch.
- Butter: One of the keys to a rich, fudgy texture. Don’t forget to melt it before mixing!
- Turkey Bacon or Chicken Ham: Use these in a playful twist as gravestones. Depending on the brand, you might want to chop them into fun shapes.
- Crushed Oreos: To sprinkle on top for that “dirt” effect. It’s a fun way to amp up the graveyard theme.
- Candy Eyeballs: These are essential for that extra spooky touch. They’re available at most craft or party stores.
- Green Icing: Perfect for adding the final touches, like grass around the grave markers.
Integrating these ingredients not only makes cooking easier but also allows for customization based on your preferences. Looking for a vegan option? Many brownie mixes cater to that too!
If you’re interested in improving your baking skills, check out sources like Serious Eats for expert techniques and tips. Happy baking—your ghostly gathering is sure to be a hit with these graveyard brownies!
Step-by-step Preparation for Graveyard Brownies
Creating graveyard brownies is a delightful way to embrace the autumn spirit, especially as Halloween approaches. With their rich chocolate flavor and creative spooky toppings, these brownies are sure to be a hit at any festive gathering. Let’s dive into our step-by-step preparation process to make this treat both easy and fun!
Gather your ingredients
Before we jump into mixing and baking, let’s make sure you have everything you need for your graveyard brownies. Here’s a handy list to help you out:
For the brownie base:
- 1 cup (2 sticks) unsalted butter
- 2 cups granulated sugar
- 4 large eggs
- 1 teaspoon vanilla extract
- 1 cup all-purpose flour
- 1 cup unsweetened cocoa powder
- 1/2 teaspoon baking powder
- 1/2 teaspoon salt
For the graveyard toppings:
- Crushed chocolate cookies (like Oreos)
- Green-tinted frosting or edible grass
- Small gummy worms
- Cookie tombstones (use a basic sugar cookie recipe or store-bought ones)
- Optional: mini chocolate skeletons or spooky edible decorations
Having all your ingredients at hand before you start is crucial because it makes the process smoother and more enjoyable. No last-minute dashes to the store!
Prepare the brownie batter
Now, let’s get to those brownies! Start by preheating your oven to 350°F (175°C). While the oven warms up, it’s time to prepare the brownie batter.
- Melt the butter: In a saucepan over low heat, melt the butter and stir in the granulated sugar until combined. Let it cool slightly.
- Mix in the eggs: Add the eggs one at a time, mixing well after each addition. Stir in the vanilla extract.
- Sift together dry ingredients: In a separate bowl, whisk together the flour, cocoa powder, baking powder, and salt. This ensures a lump-free batter.
- Combine wet and dry: Gradually add the dry mixture to your wet mixture, stirring just until combined. Be careful not to over-mix.
A good brownie batter should be thick and shiny. If you want special insight into brownie texture, consider checking out sources like Serious Eats for expert tips.
Bake the brownies
With your batter ready, it’s baking time!
- Prepare your baking pan: Grease a 9×13 inch baking dish or line it with parchment paper for easy removal.
- Pour in the batter: Spread the mixture evenly in the prepared pan.
- Bake: Place the brownies in the preheated oven and bake for about 20-25 minutes. You want them to be firm around the edges but slightly soft in the center; they will continue to cook while cooling.
When they’re done, let them cool completely in the pan. This is important—you don’t want to rush this part, as the texture will improve as they set.
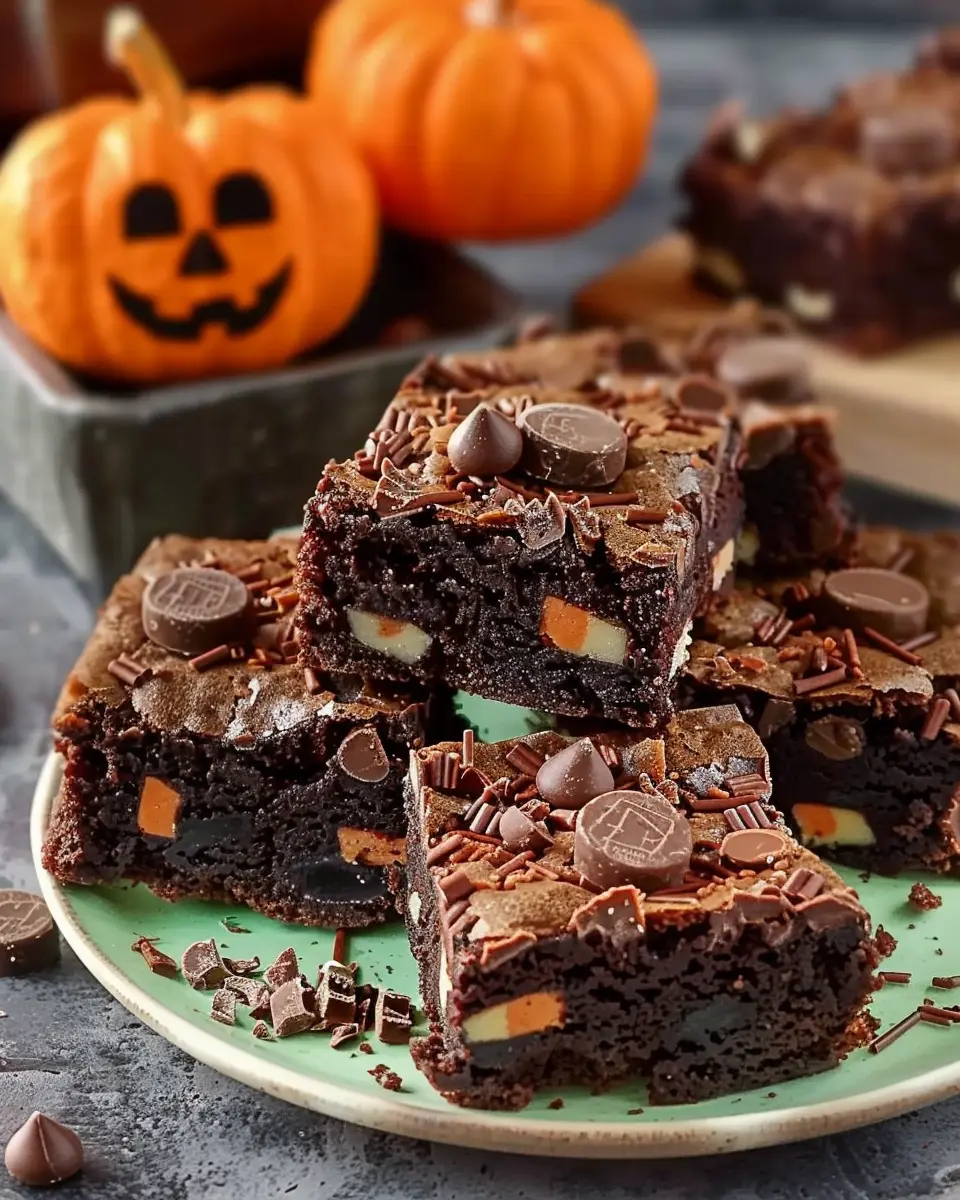
Create the “graveyard” toppings
Now for the fun part—decorating your graveyard brownies!
- Crush the chocolate cookies: Place them in a zip-top bag and gently crush them with a rolling pin until they resemble dirt.
- Frosting: Use green frosting or edible grass to mimic the eerie look of a graveyard.
- Prepare cookie tombstones: If you’re making your own tombstones, bake and decorate them with icing, writing cute spooky messages like “RIP” or “Beware.”
Assemble your graveyard brownies
At last, the assembly! This is where your creativity shines:
- Cut the brownies into squares.
- Dust the top with crushed cookies to resemble dirt.
- Decorate with the green frosting, gummy worms, and your cookie tombstones.
- Add finishing touches with any additional spooky decorations to enhance the graveyard look.
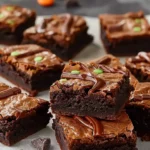
Your graveyard brownies are now ready to impress! Whether it’s for a party, a family gathering, or just indulging on a cozy night in, these spooky treats will be a delightful centerpiece.
Enjoy making these yummy graveyard brownies, and don’t forget to share your creations on social media. After all, everyone loves a well-decorated dessert!
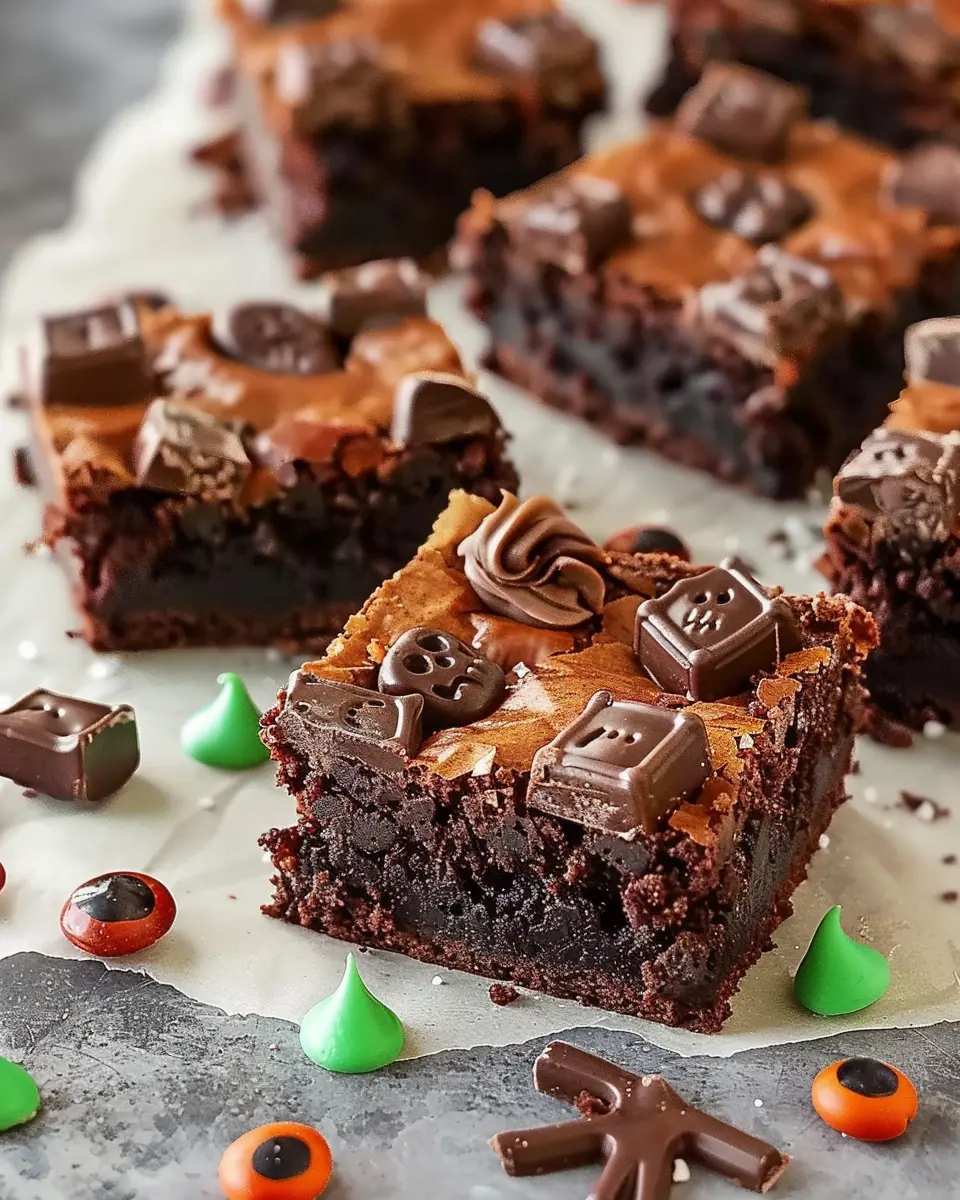
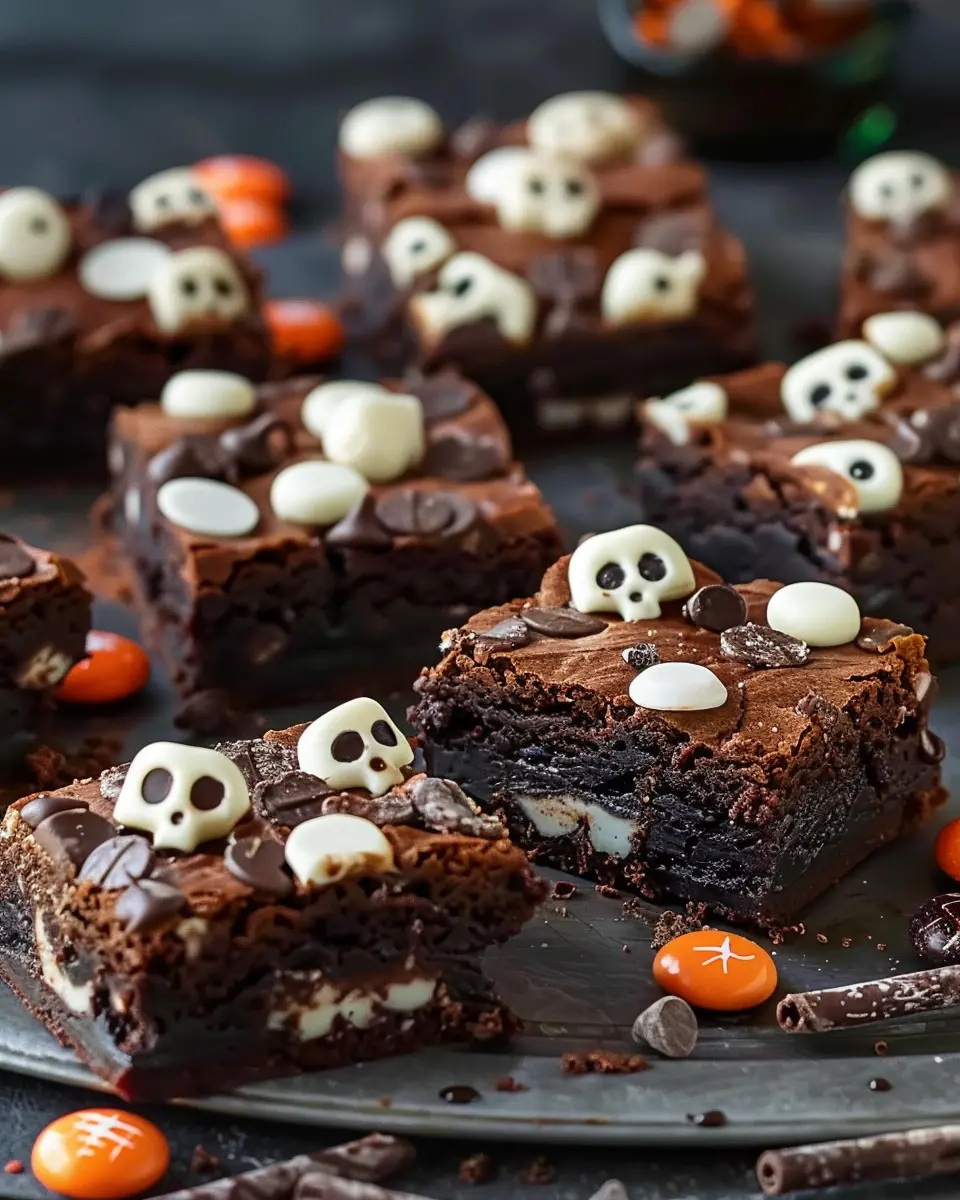
Variations on Graveyard Brownies
When it comes to graveyard brownies, the fun doesn’t just stop at the classic recipe. You can customize and adapt these treats to suit various dietary preferences and make them your own. Let’s explore a couple of delightful variations that will impress your friends and family.
No-Bake Graveyard Brownies
If you’re short on time (or just want to keep things simple), you can make no-bake graveyard brownies. These are perfect for young professionals who are juggling a busy schedule but still want to whip up something delicious. Here’s how:
- Base Ingredients: Use a blend of oats, almond butter, cocoa powder, and maple syrup.
- Layering: After pressing the mixture into a pan, top it with crushed cookies and gummy worms to achieve that spooky graveyard look without turning on the oven.
- Chill & Serve: Let these brownies sit in the fridge for at least an hour to firm up before you dig in. This no-bake method gives you a rich, fudgy treat that’s simply irresistible. For more no-bake recipes, check out Minimalist Baker.
Vegan Graveyard Brownies
Craving a plant-based sweet fix? You can easily whip up vegan graveyard brownies without sacrificing flavor. Here’s a friendly guide:
- Ingredient Swap: Use flaxseed meal mixed with water as an egg substitute, and opt for dairy-free chocolate and coconut oil for added richness.
- Sweeten Naturally: Instead of traditional sugar, try maple syrup or agave nectar for a healthier touch.
- Topping Ideas: Decorate with vegan gummy candies or homemade avocado frosting to create a spooky façade.
Experimenting with your graveyard brownies helps you cater to various tastes while keeping the Halloween spirit alive. Which version will you try first?
Cooking Tips and Notes for Graveyard Brownies
When it comes to making graveyard brownies, a little creativity goes a long way! Here are some essential tips to elevate your spooky treat game:
Choose Quality Ingredients
Opt for high-quality cocoa powder and chocolate to ensure your brownies have a rich flavor. The chocolate’s quality can make a noticeable difference in the final product. Check out Serious Eats for recommendations on the best chocolate brands!
Layer with Care
Be sure to let your brownie base cool completely before adding any layers. It ensures that your frosting or toppings don’t melt into the brownies, preserving that perfect texture.
Get Creative with Toppings
Think about adding fun toppings like crumbled Turkey Bacon, Chicken Ham bits, or gummy worms to enhance that eerie graveyard look. You can even use powdered sugar to create “grave markers” on top.
Storage Tips
To keep your graveyard brownies fresh, store them in an airtight container at room temperature for up to five days. For longer storage, consider freezing them; they’ll last for up to three months!
These simple tips will help ensure that your graveyard brownies are not only delicious but also a hit at any Halloween gathering. Happy baking!
Serving Suggestions for Graveyard Brownies
When it comes to serving your delicious graveyard brownies, presentation is key! Here are some creative ideas that will not only elevate your spooky treats but also impress your guests.
Create a Spooky Dessert Table
Designate a corner of your space as a graveyard-themed dessert station. Use black and orange tablecloths for a festive touch, and arrange your brownies in a way that they mimic a cemetery. To add a whimsical flair, consider using mini tombstone decorations—simply label them with funny names for added amusement!
Pair with Fun Beverages
To complement your graveyard brownies, serve a variety of beverages. Think about whipping up some pumpkin spice lattes or festive cider. These warm drinks not only enhance the autumnal vibe but also perfectly balance the rich chocolate flavors of the brownies. You could even set up a mocktail bar featuring concoctions that tie into your theme.
A Perfect Gift for Friends
Brownies make for delightful gifts! Consider wrapping up a few pieces in themed bags or boxes for your friends. It’s a sweet gesture that fits right into the Halloween spirit, plus everyone loves homemade treats!
Incorporating these ideas will ensure that your graveyard brownies become the highlight of any gathering. For more serving inspiration, check out this great resource on dessert presentation for expert tips!
Time Breakdown for Graveyard Brownies
Preparation Time
Getting ready to whip up your graveyard brownies is a breeze! You’ll need about 20 minutes to gather your ingredients and mix them all together. This is the fun part where you can let your creativity flow—maybe even throw on your favorite playlist to set the mood.
Baking Time
After preparation, pop those brownies in the oven for around 30 to 35 minutes. The rich aroma will fill your kitchen, and trust me, you’ll have everyone peeking in to see what’s baking!
Total Time
All in all, you’re looking at about an hour to whip up these delightful graveyard brownies. The sweet payoff is worth every moment, and once they’ve cooled, you can decorate and present them like a true Halloween hero. Want a few creative decorating tips? Check out this fun guide for inspiration!
Making spooky treats should always be a delightful experience, and with just a bit of patience, you’ll have the ultimate Halloween dessert ready to impress!
Nutritional Facts for Graveyard Brownies
When whipping up a batch of graveyard brownies, being aware of their nutritional profile can help you indulge mindfully. Here’s a quick breakdown:
Calories
Each serving of these indulgent brownies contains approximately 250 calories. While that may feel a bit high, remember that moderation is key!
Sugars
Expect about 20 grams of sugar per serving. The sweetness from the chocolate and any frosting you add can elevate your dessert experience but keep an eye out for added sugars in your ingredients.
Fats
With about 12 grams of fat per brownie, the combination of butter and chocolate is what makes them so fudgy and delicious. Using high-quality chocolate can enhance both the flavor and nutritional value.
For more detailed insights on healthy baking, check out reputable sources like Nutrition.gov or Choose My Plate. Enjoy your baking adventure—your taste buds will thank you!
FAQs about Graveyard Brownies
How can I make my brownies fudgier?
If you’re a fan of ultra-fudgy brownies, there are a few tricks you can employ. Start by using high-quality chocolate with a higher cocoa butter content. This adds richer flavor and moisture! Additionally, reducing the flour slightly can help achieve that gooey texture we all crave in our graveyard brownies. Another tip is to underbake them by a couple of minutes—trust me, they’ll set as they cool but retain that delicious, fudgy center!
Can I use different types of chocolate?
Absolutely! One of the joys of baking is the flexibility it offers. You can mix and match different types of chocolate to create your perfect graveyard brownies. Dark chocolate lends a deep richness, while milk chocolate adds sweetness. Don’t hesitate to experiment with white chocolate chips or even flavored chocolate bars. If you’d like to follow up with more creative variations, check out resources from Serious Eats or BBC Good Food!
What’s the best way to store graveyard brownies?
To keep your graveyard brownies fresh, store them in an airtight container at room temperature for up to 3 days. If you want to extend their shelf life, consider freezing them! Wrap individual portions tightly in plastic wrap and store them in a freezer-safe bag. They can last up to three months in the freezer, making it easy to whip out a spooky treat anytime you crave it. Just let them thaw at room temperature or pop them in the microwave for a few seconds before indulging!
By following these tips, you’ll ensure your graveyard brownies are the talk of every gathering!
Conclusion on Graveyard Brownies
In conclusion, graveyard brownies aren’t just a dessert; they’re an experience that brings laughter and fun to any occasion. With their spooky presentation and rich chocolate flavor, they perfectly combine the festive spirit and the love for indulging in delicious treats. Whether you’re hosting a Halloween bash or looking to impress friends at a cozy get-together, these brownies will be the highlight of your event.
If you’re curious about creative presentations, check out this site for more festive ideas. Remember, it’s all about enjoying the process and sharing these delightful treats, so get your friends involved, and make some scary sweet memories together!
Graveyard Brownies: Indulgent Halloween Treats for Everyone
Delicious and spooky Graveyard Brownies perfect for a Halloween celebration!
- Prep Time: 15 minutes
- Cook Time: 30 minutes
- Total Time: 45 minutes
- Yield: 12 servings 1x
- Category: Desserts
- Method: Baking
- Cuisine: American
- Diet: Vegetarian
Ingredients
- 1 cup all-purpose flour
- 1 cup granulated sugar
- 1/2 cup cocoa powder
- 1/2 cup unsalted butter
- 2 large eggs
- 1 teaspoon vanilla extract
- 1/4 teaspoon salt
- 1/2 teaspoon baking powder
- 1 cup chocolate chips
- 1 cup crushed Oreos
Instructions
- Preheat the oven to 350°F (175°C).
- In a bowl, mix the butter and sugar until fluffy.
- Add the eggs and vanilla, and mix well.
- Combine the flour, cocoa, salt, and baking powder, then stir into the wet mixture.
- Fold in chocolate chips and pour the batter into a greased baking dish.
- Bake for 25-30 minutes, and let cool.
Notes
- Decorate with Halloween-themed sprinkles or edible decorations.
- Use leftover brownie pieces to create gravestones.
Nutrition
- Serving Size: 1 brownie
- Calories: 200
- Sugar: 18g
- Sodium: 150mg
- Fat: 10g
- Saturated Fat: 6g
- Unsaturated Fat: 3g
- Trans Fat: 0g
- Carbohydrates: 30g
- Fiber: 2g
- Protein: 3g
- Cholesterol: 40mg
Keywords: Graveyard Brownies, Halloween Treats, Brownies Recipe