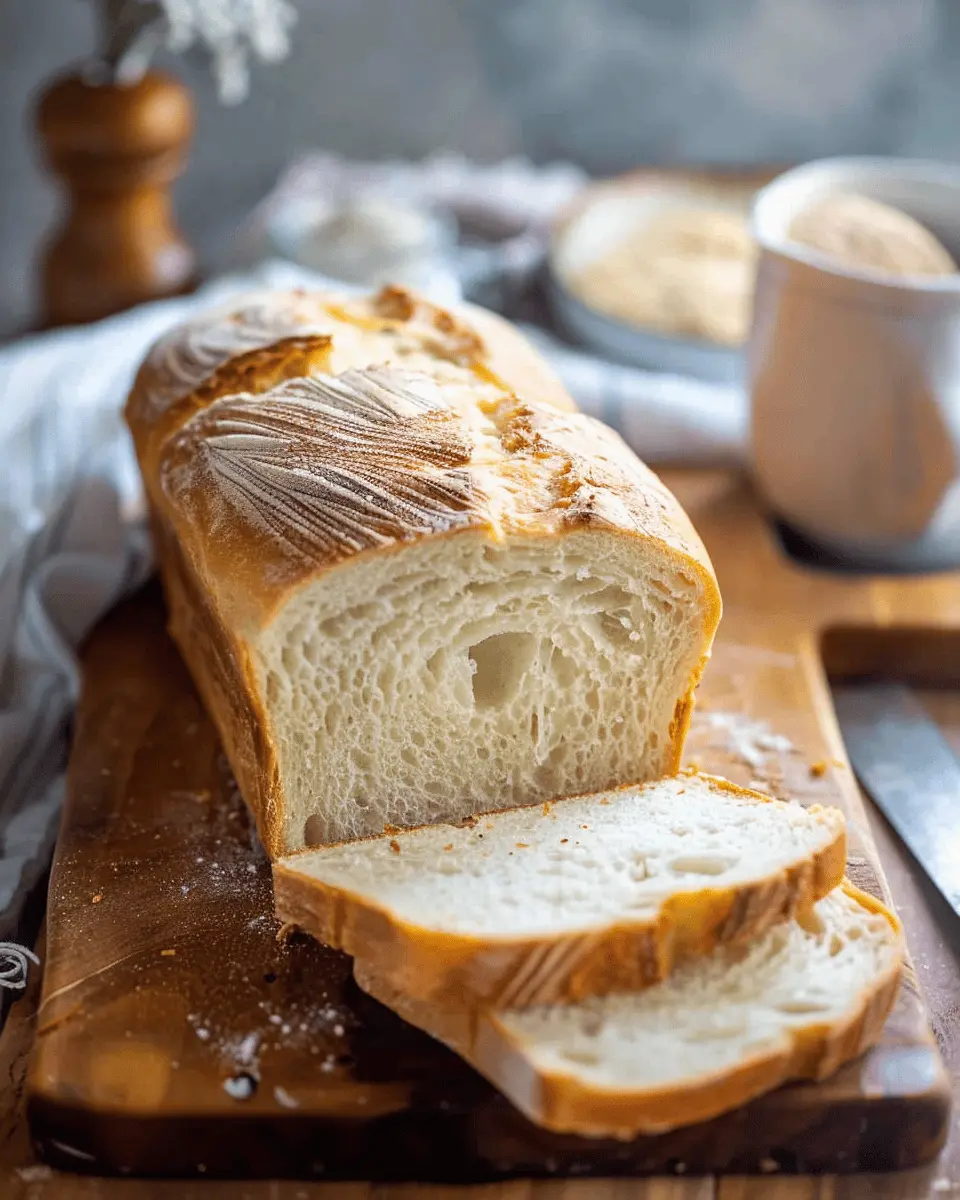
Introduction to Homemade Bread
The Joy of Making Your Own Bread
There’s something undeniably magical about walking into a kitchen filled with the warm aroma of homemade bread. For many, this delightful scent brings back childhood memories of helping a parent or grandparent knead dough, filled with laughter and the promise of delicious meals. Making your own bread isn’t just a cooking task; it’s an experience that can transform a simple loaf into a personal masterpiece.
Why opt for homemade bread, you ask? Well, there’s a surprising joy in crafting something with your own hands, especially when it comes to a staple as universal as bread. According to a recent survey, 67% of millennials enjoy baking at home—a clear indicator that there’s a growing trend in the kitchen as we seek to connect with our food and traditions. Plus, when you make it from scratch, you control what goes into your loaf. This means fresh ingredients, no preservatives, and the freedom to experiment with flavors and textures.
But maybe you’re worried about techniques or complexity? It’s easier than you think! Start with staple ingredients—flour, water, yeast, and salt. Mix them up, let the dough rise, and then shape it into your favorite form. Using resources like King Arthur Baking or the Bread Bakers’ Guild can provide additional techniques, tips, and even video guides to help you along the way.
- Improves Your Kitchen Skills: Each loaf is a lesson in patience and precision.
- Economical and Healthier: Homemade bread often costs less than store-bought options while being free from unwanted additives.
- Perfect for Customization: Experiment with herbs, spices, or even ingredients like Turkey Bacon or Chicken Ham for a delicious twist.
Isn’t it time to swap that store-bought loaf for a slice of your very own homemade bread? Baking isn’t just about the end product; it’s about the journey from flour to crusty perfection. Grab your apron, and let’s dive into the world of baking!
Ingredients for Homemade Bread
Essential Ingredients for Classic Bread
Making homemade bread starts with a few simple, essential ingredients. You may already have them in your pantry! Here’s what you’ll need:
- Flour: All-purpose or bread flour works great; they provide the structure and texture.
- Water: Warm water activates the yeast, helping your dough rise.
- Yeast: Look for active dry or instant yeast to give your bread that lovely lift.
- Sugar: A touch of sugar feeds the yeast and enhances the flavor.
- Salt: Essential for taste, salt also regulates yeast activity.
Optional Ingredients for Flavor Enhancements
Want to elevate your homemade bread experience? Consider these optional ingredients for added flavor:
- Olive oil or butter: Enhances richness and moisture.
- Herbs and spices: Think garlic powder, rosemary, or thyme for a fragrant lift.
- Seeds or nuts: Add texture and a delightful crunch.
- Cheese: A tasty addition for savory bread options.
Experimenting with these ingredients can lead you to discover your perfect loaf. Check out resources like King Arthur Baking for more inspiration on flavor combinations!
Preparing Homemade Bread
Baking homemade bread isn’t just about mixing flour and water; it’s a delightful journey that transforms simple ingredients into something heavenly. This guide will walk you through each essential step to ensure your homemade bread turns out perfectly every time.
Gather Your Ingredients
Before you dive into the fun of baking, make sure you have all your ingredients ready. Here’s what you’ll need:
- Flour: Use bread flour for a chewy texture or all-purpose flour for a softer crumb.
- Yeast: Instant yeast or active dry yeast works well.
- Salt: It enhances flavor and strengthens the dough.
- Sugar: A little sugar helps to activate the yeast.
- Warm Water: About 110°F (43°C) is ideal for activating yeast.
- Oil or Melted Butter: Adds richness and helps with texture.
Don’t forget to check for any special dietary needs or preferences.
Mix Dry Ingredients
Once you’ve gathered everything, begin by mixing your dry ingredients—this is where the magic starts! In a large mixing bowl, combine:
- 4 cups of flour
- 1 packet of instant yeast (about 2¼ teaspoons)
- 2 teaspoons of salt
- 1 tablespoon of sugar
Whisk these together until they’re evenly mixed. This step ensures that the yeast and salt are distributed throughout the flour, leading to a unified flavor in your homemade bread.
Combine Wet Ingredients
Next, it’s time to add your wet ingredients. In a separate bowl, combine:
- 1¾ cups of warm water
- 2 tablespoons of oil or melted butter
Stir the mixture slightly to combine. If you’re interested in experimenting, you can also add herbs or spices to the water at this stage for extra flavor!
Knead the Dough
Now comes the tactile part—kneading! Gradually add the wet ingredients to your dry ones. Use your hands or a wooden spoon to bring the dough together. Once combined, transfer it to a floured surface and knead for about 8-10 minutes. You’re looking for a smooth and elastic texture. If you’re new to this, don’t worry! Kneading can feel therapeutic; it’s a great way to relieve the stress of the day.
First Rise and What to Look For
Once kneaded, place the dough in a lightly greased bowl, cover it with a damp cloth or plastic wrap, and let it rise in a warm place for about 1 to 2 hours. The goal here is for the dough to double in size. A warm oven (turned off) can work wonders for this rise. Look for a smooth, puffy texture, signaling that fermentation is doing its job!
Shape the Dough
After your dough has risen, it’s time to shape it. Gently punch down the dough to release some gas, then transfer it to a floured work surface. Shape the dough into a loaf or rolls, depending on your preference. Don’t worry about perfection; every loaf tells a story.
Second Rise and Timing
Place your shaped dough onto a prepared baking pan. Cover again and let it rise for another 30 to 45 minutes. This second rise will give your homemade bread that lovely lightness. The dough should bounce back slowly when poked—this is a good sign!
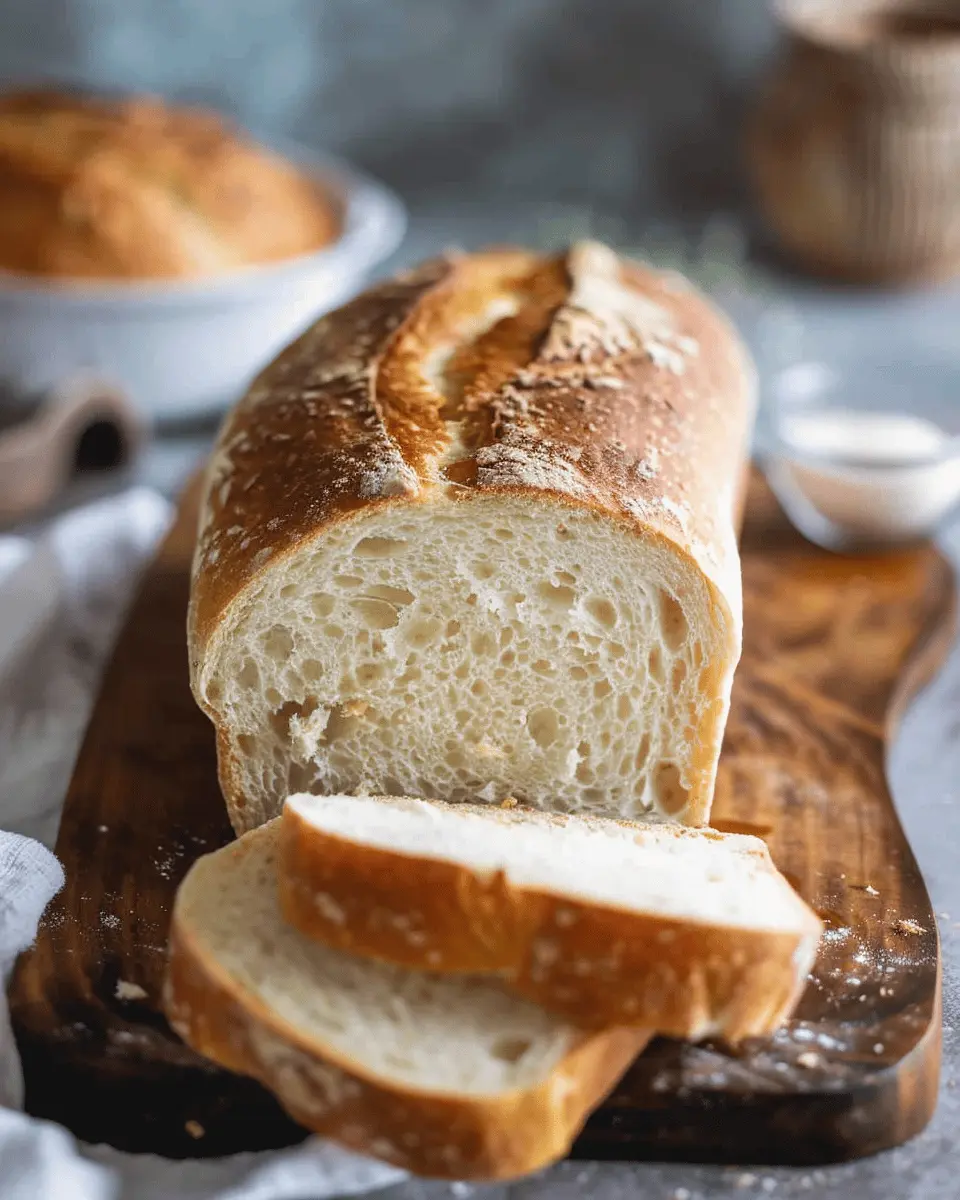
Bake the Bread
Finally, it’s time for baking! Preheat your oven to 375°F (190°C). When your dough is ready, pop it in the oven for about 25-30 minutes or until it’s golden brown and sounds hollow when tapped on the bottom. Let it cool on a wire rack, and resist the temptation to slice it before it’s cool—this helps maintain the crust.
Baking your own homemade bread is not just a process; it’s a rewarding experience that fills your home with heartwarming aromas. Whether you’re new to baking or an experienced pro, enjoy the journey! For more tips on baking bread and different variations, check out King Arthur Baking. Happy baking!
Variations on Homemade Bread
Exploring the world of homemade bread is a delightful journey, filled with endless possibilities. Once you master the basics, consider these three variations that will elevate your baking game!
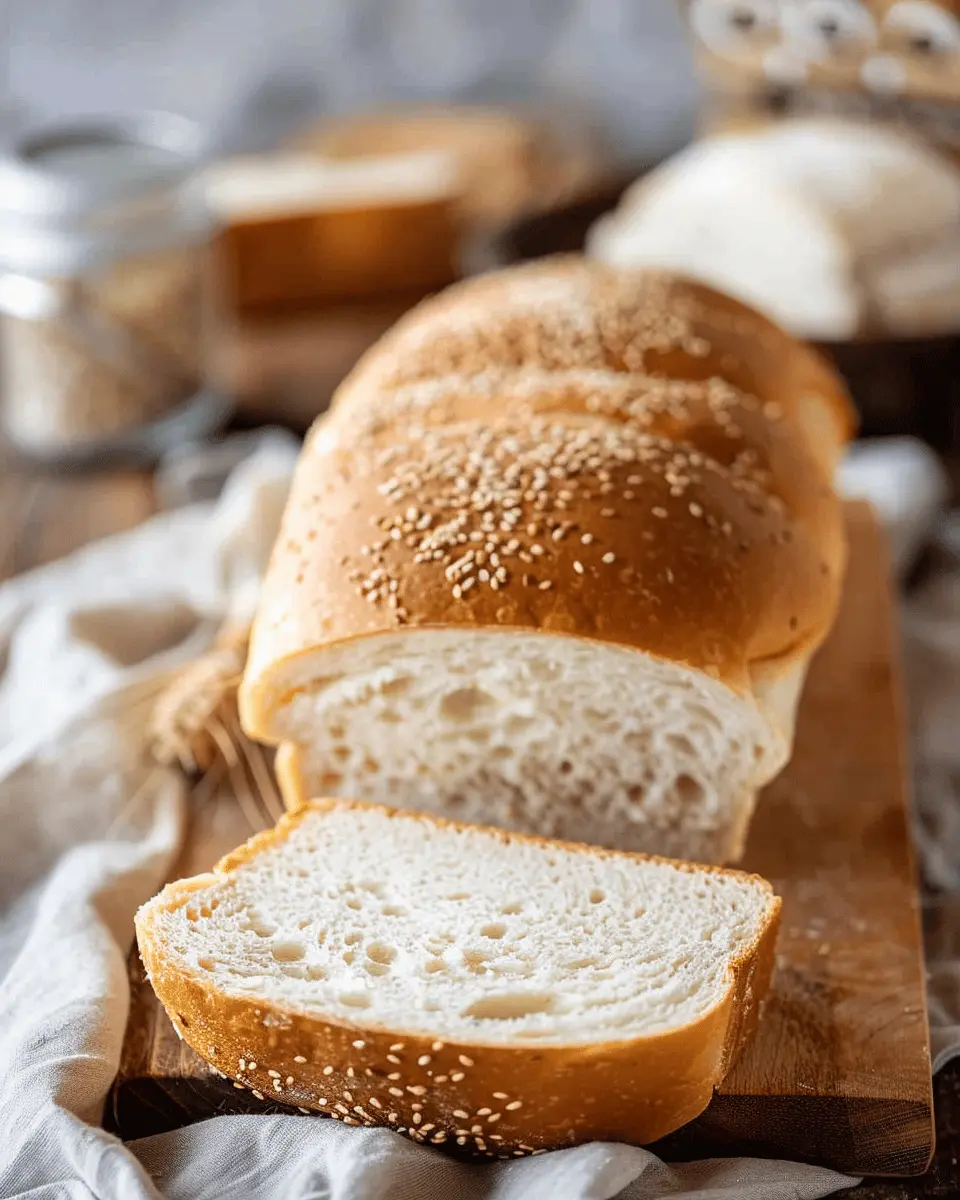
Whole Wheat Bread
If you’re looking for a healthier option, give whole wheat bread a try. It’s packed with nutrients and fiber, making it a hearty choice for breakfast or sandwiches. You can substitute up to half of your all-purpose flour with whole wheat flour for a delightful nutty flavor. Don’t forget to hydrate your dough well; whole wheat flour absorbs more liquid than refined flour. For tips on baking with whole grains, check out the Whole Grains Council’s resources.
Herb-infused Bread
Bring your bread to life with herbs! Imagine biting into a slice of warm bread infused with rosemary or oregano—pure bliss. Just mix finely chopped fresh herbs into your dough right before the final rise, or incorporate them into a delicious herb oil to brush on before baking. Experiment with flavors that you love; it adds a personal touch and can transform ordinary meals into gourmet experiences. Plus, a fragrant kitchen is always a bonus!
Sweet Bread with Dried Fruits
For a sweet twist on your homemade bread, try adding dried fruits like cranberries, apricots, or even chocolate chips. These additions can turn your bread into a delightful dessert or a sweet breakfast treat. Consider a sprinkling of cinnamon or nutmeg for extra warmth. There’s something special about a loaf that fills your home with sweet aromas. To learn more about the benefits of adding fruits and spices, check this expert article.
These variations not only enhance flavor but can also cater to different dietary preferences, ensuring that your homemade creations are enjoyed by all! Happy baking!
Baking Notes for Homemade Bread
When you’re diving into the art of making homemade bread, there are a few insights that can help you sidestep common pitfalls and achieve that perfect loaf.
Common Mistakes to Avoid
- Skipping the Proofing: A vital step! If you let your dough rise longer, you’ll notice a better texture and flavor.
- Ignoring Temperature: Yeast thrives in warmth. Make sure your water is around 110°F for optimal activation.
- Measuring Errors: Be precise! Using a scale is a great way to ensure you’re measuring flour and water correctly—too much flour can lead to dryness.
For further reading on yeast behavior, check out this Science of Baking.
Tips for a Perfect Crust
- Steam is Key: Place a pan of water in your oven while baking. This will create steam, giving you that crunch we all crave.
- Egg Wash: For a golden-brown finish, brush your dough with a mixture of egg and water before baking.
- Cool Completely: Resist slicing too soon—let your bread cool on a wire rack to achieve the best texture.
With these baking notes, you’re well-equipped to tackle your homemade bread adventure. Happy baking!

Serving Suggestions for Homemade Bread
Pairing Bread with Spreads
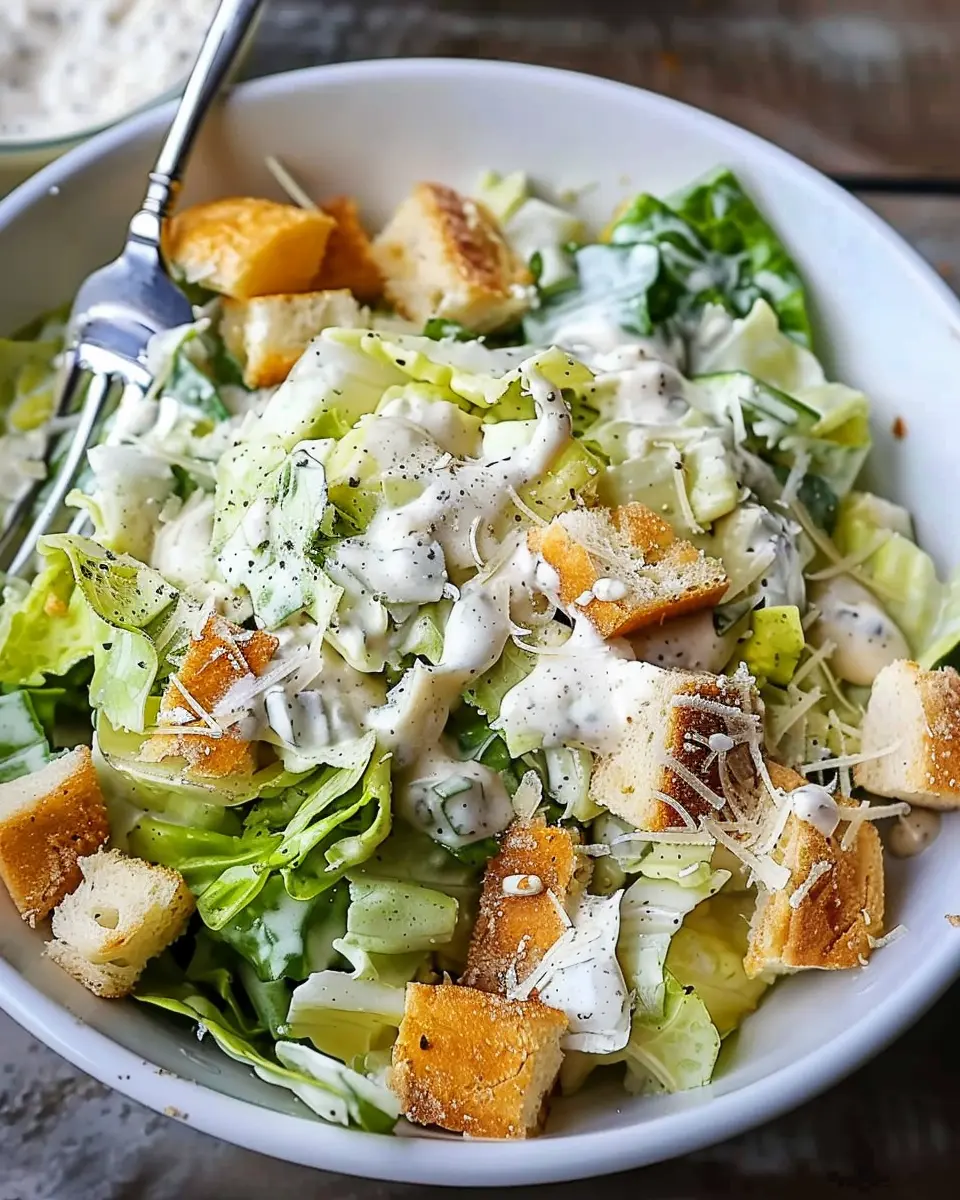
There’s nothing quite like homemade bread fresh from the oven, but the real magic happens when you find the perfect spreads to elevate every bite. Try classic options like creamy butter or tangy cream cheese. For something a little more adventurous, consider:
- Avocado spread: Mash ripe avocados with lemon juice and a pinch of salt for a nutritious and filling option.
- Hummus: This chickpea-based delight offers a healthy twist and comes in various flavors to suit your palate.
- Pesto: Spread a layer of basil or sun-dried tomato pesto for a burst of flavor that transforms your bread into a gourmet treat.
Creative Uses for Leftover Bread
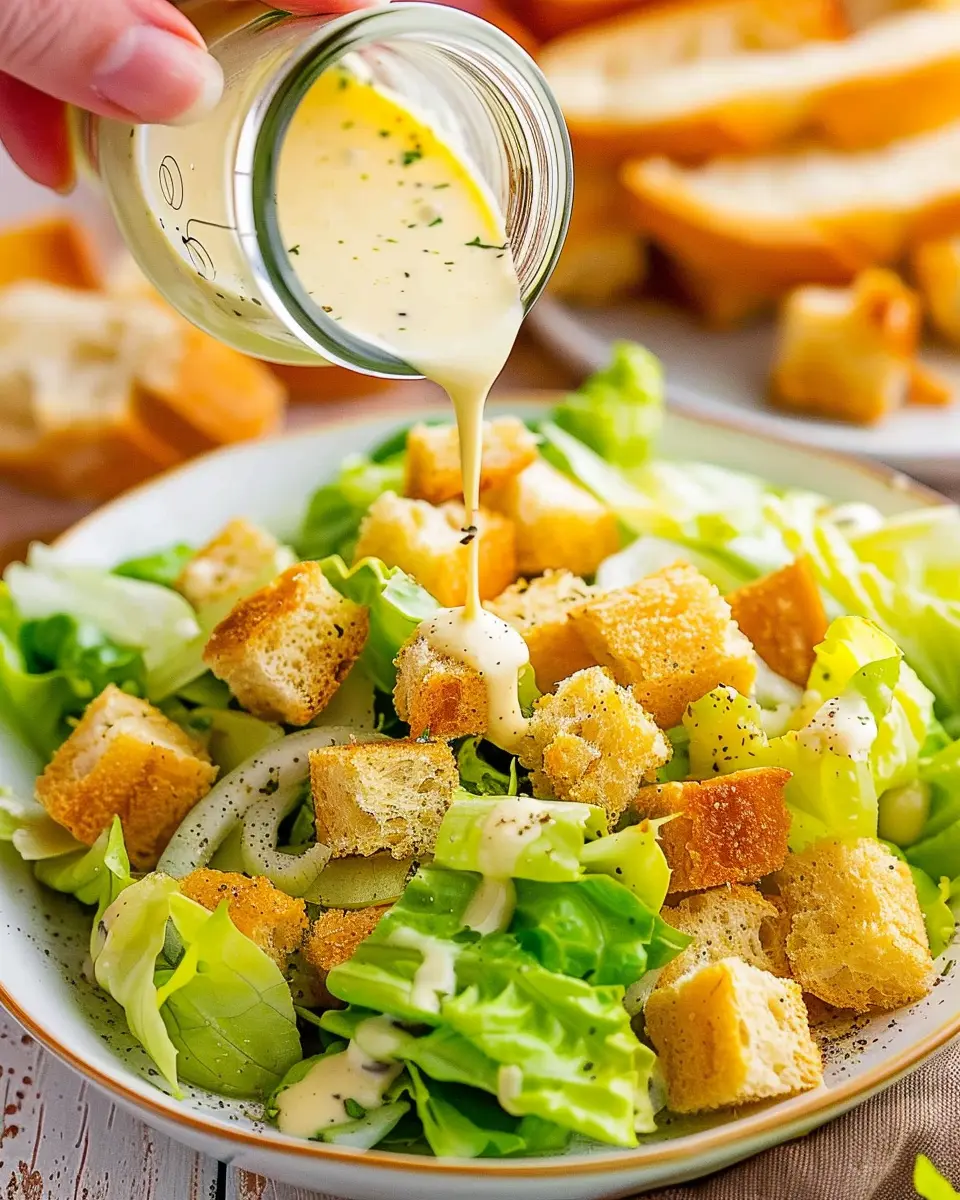
Don’t let your delicious homemade bread go to waste! Get creative with these fun ideas:
- Bread crumbs: Transform stale slices into breadcrumbs for a crunchy topping on salads or baked dishes.
- French toast: Use leftover bread for a delightful weekend breakfast, soaking it in a mixture of eggs and milk, then frying until golden.
- Grilled cheese: Make the ultimate comfort food using your homemade bread, adding crispy turkey bacon or chicken ham for extra indulgence.
Embrace the versatility of homemade bread, and check out resources like Food52’s Guide for more creative tips on using up that leftover loaf!
Time Breakdown for Homemade Bread
Preparation Time
Getting started on your homemade bread adventure is easier than you might think! The preparation time typically takes about 15–20 minutes. During this phase, you’ll gather your ingredients, mix them, and knead the dough.
Rising Time
The key to fluffy, delicious bread is the rising time, which usually takes around 1–2 hours. This is when the magic happens – the yeast works its wonders, making your dough expand. If you have the patience, a longer rise at room temperature can enhance the flavor!
Baking Time
Once it’s risen beautifully, the baking time is about 25–30 minutes. You’ll know it’s done when it has that golden-brown crust and sounds hollow when tapped.
Total Time
In total, you’re looking at around 2–3 hours, including rising and baking. While it may take some time, the aroma of fresh homemade bread filling your kitchen is well worth the wait! For more tips on bread recipes, check out Serious Eats for expert advice and inspiration!
Nutritional Facts for Homemade Bread
When you whip up a batch of homemade bread, it’s not just about the delightful aroma wafting through your kitchen; it’s also a nourishing choice. Let’s take a closer look at some important nutritional facts that make homemade bread a great addition to your meals!
Calories
A single slice of homemade bread typically contains around 80-100 calories, depending on the ingredients. By controlling what goes into your bread, you can significantly reduce unnecessary calories compared to store-bought options.
Carbohydrates
Each slice usually has about 15-20 grams of carbohydrates. These carbs are your body’s primary fuel source, making homemade bread a great way to kickstart your day or rev up after a workout.
Fiber
Fiber content can vary, but you can easily pack in about 2-3 grams per slice if you use whole grains and seeds. Including fiber in your diet is essential for digestion and can help you feel full longer. For more info on the benefits of fiber, check out Harvard T.H. Chan School of Public Health.
Embracing the art of baking your own bread not only nourishes the body but also provides a comforting ritual in your daily routine. Enjoy the process and the benefits of freshly baked goodness!
FAQs about Homemade Bread
Creating homemade bread can be a rewarding experience, but questions often arise during the process. Let’s tackle some common queries to help you on your baking journey!
How can I tell if my bread has risen enough?
One of the easiest ways to check if your bread has risen adequately is the “poke test.” Gently press your finger into the dough; if the indentation remains, it’s ready for baking! A well-risen dough should have roughly doubled in size. Additionally, you might look for a slightly domed shape and a smooth surface.
Can I freeze homemade bread?
Absolutely! Freezing homemade bread is a fantastic way to ensure you always have some on hand. After cooling completely, wrap the loaf tightly in plastic wrap and then in aluminum foil, or place it in a freezer bag. It’s best used within three months for optimal freshness. To enjoy, simply thaw at room temperature and warm it in the oven for a few minutes.
What should I do if my bread is too dense?
If your bread is denser than desired, several factors could be at play:
- Under-kneading: Ensure you’re mixing the dough adequately to develop gluten.
- Not enough rising time: Sometimes a bit more time is needed for fermentation.
- Too much flour: Measuring accurately is crucial; consider using a kitchen scale for precision.
If it’s still dense after baking, you might also experiment with adding a little more yeast or using a recipe with higher hydration. Remember, even seasoned bakers face challenges in their bread-making. Each loaf is a new opportunity for improvement!
For more tips on bread-making, check out resources like King Arthur Baking or The Bread Lab. Happy baking!
Conclusion on Homemade Bread
The Last Slice of Advice
Making homemade bread is more than just following a recipe; it’s an experience that transforms simple ingredients into something magical. As you enjoy that first warm slice, remember, the joy of breadmaking lies in experimentation. Don’t hesitate to try different flours, add herbs, or even incorporate Turkey Bacon or Chicken Ham for a savory twist.
If you’re curious about the health benefits, check out sources like the Whole Grains Council for insights. So, whether you savor it with a morning coffee or use it for a hearty sandwich, your homemade bread will certainly nourish both body and soul. Happy baking!
Homemade Bread: The Best Easy Recipe for Perfect Loaves
Learn how to make delicious homemade bread with this easy recipe. Perfect for all occasions!
- Prep Time: 15 minutes
- Cook Time: 35 minutes
- Total Time: 1 hour 50 minutes
- Yield: 1 loaf 1x
- Category: Bread
- Method: Baking
- Cuisine: American
- Diet: Vegetarian
Ingredients
- 4 cups all-purpose flour
- 2 teaspoons salt
- 1 tablespoon sugar
- 2 teaspoons instant yeast
- 1 and 1/2 cups warm water
Instructions
- In a large bowl, combine flour, salt, sugar, and yeast.
- Add warm water and mix until a dough forms.
- Knead the dough for about 10 minutes until smooth.
- Place the dough in a greased bowl, cover, and let rise for 1 hour.
- Punch down the dough and shape into a loaf.
- Place into a greased loaf pan and let rise for another 30 minutes.
- Bake in a preheated oven at 375°F for 30-35 minutes.
- Let cool before slicing.
Notes
- For a crustier loaf, place a pan of water in the oven while baking.
- Experiment by adding herbs or cheese to the dough for different flavors.
Nutrition
- Serving Size: 1 slice
- Calories: 120
- Sugar: 1g
- Sodium: 300mg
- Fat: 1g
- Saturated Fat: 0g
- Unsaturated Fat: 0.5g
- Trans Fat: 0g
- Carbohydrates: 24g
- Fiber: 1g
- Protein: 4g
- Cholesterol: 0mg
Keywords: Homemade Bread, Easy Bread Recipe, Bread Baking