Introduction to Homemade Bread
Why You Should Start Making Homemade Bread
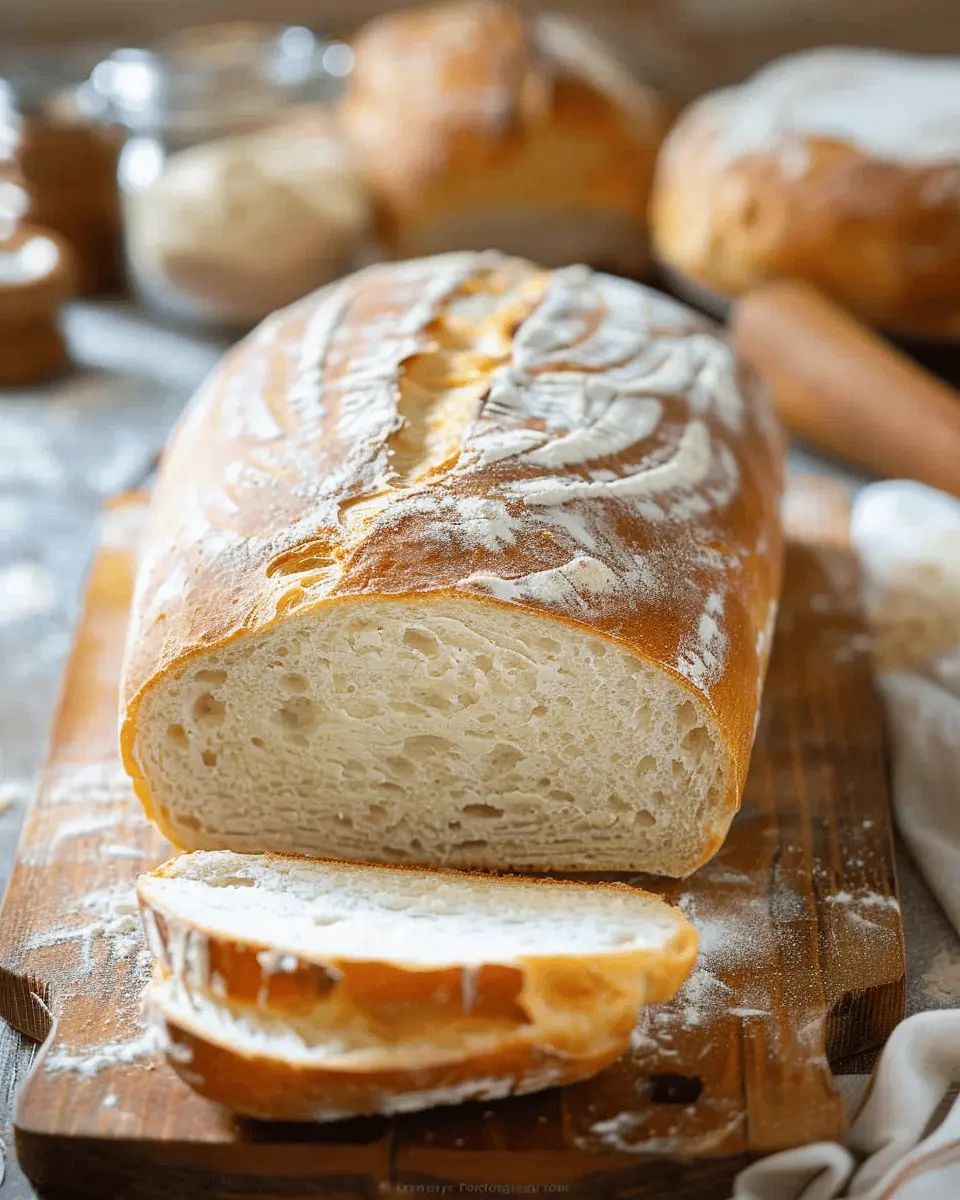
There’s something incredibly rewarding about baking your own bread at home. Imagine the aroma of freshly baked homemade bread wafting through your kitchen, filling the air with warmth and comfort. It’s not just about the delicious end product; the process itself can be a therapeutic and satisfying experience.
Nutritional Benefits
When you choose to create homemade bread, you gain full control over the ingredients, allowing you to prioritize health. Unlike many store-bought options, which can be packed with preservatives and additives, your homemade loaf can be made with whole grains, seeds, or even gluten-free options. According to a study by the Whole Grains Council, whole grain intake is linked to numerous health benefits, including lower risk of heart disease and improved digestion.
Cost-Effectiveness
Baking your own bread can be surprisingly economical. With just a few basic ingredients—flour, water, yeast, and salt—you can create multiple loaves, often at a fraction of the cost of purchasing specialty breads. This is especially relevant for young professionals looking to save money while still enjoying high-quality food.
Skill Development and Creativity
Baking offers an outstanding opportunity to hone your skills in the kitchen. Whether you’re a novice or a seasoned chef, making homemade bread allows you to experiment with flavors, shapes, and techniques. Want to incorporate herbs, cheese, or perhaps some dried fruit? The choices are endless, and each loaf presents a new opportunity for creativity. You could even try your hand at sourdough, which has gained considerable popularity over the years.
Social Connections
Lastly, don’t underestimate the social aspect of bread-making. Think of all the connections you can foster by sharing your homemade creations with friends or family. Bread has a unique power to bring people together. A simple loaf can turn a casual gathering into a memorable experience.
In summary, embarking on the journey of making homemade bread not only nourishes your body but also feeds your soul. So, roll up your sleeves, grab those ingredients, and let’s bake something special! For tips on essential ingredients and tools, check out this comprehensive guide on Bread-Making Essentials.

Ingredients for Homemade Bread
Essential Ingredients for Basic Bread
Making homemade bread is a satisfying journey that begins with just a few essential ingredients. Here’s what you’ll need:
- Flour: All-purpose flour or bread flour will work, but bread flour gives a chewier texture.
- Yeast: Active dry yeast or instant yeast are both great options, helping your dough rise.
- Water: Warm tap water activates the yeast. Just remember, too hot can kill it!
- Salt: A must for flavor and to control yeast activity.
- Sugar: Optional, but a teaspoon can sweeten things up and help the yeast thrive.
With these basic components, your homemade bread will come to life!
Optional Add-ins for Flavor and Texture
Once you’ve mastered the basics, the fun begins! Consider these flavorful add-ins:
- Herbs: Dried herbs like rosemary or thyme can elevate your bread’s aroma.
- Seeds and Nuts: Add crunch with sunflower seeds or walnuts.
- Cheese: Mixing in grated cheese can create a delightful savory bread.
- Dried fruits: Think raisins or cranberries for a sweet twist.
Experimenting with these extras can transform your basic recipe into something uniquely yours. What will you create today? For more tips on enhancing your baking, check out resources from King Arthur Baking or BBC Good Food.
Step-by-Step Preparation of Homemade Bread
Making homemade bread from scratch is an art that resonates with anyone who appreciates the warmth of freshly baked goodness. It might seem intimidating, but with a little guidance, anyone can master this delicious skill! Let’s dive into the details of each step, ensuring you have everything you need for a successful baking experience.
Gather and Measure Your Ingredients
To create your own masterful homemade bread, start by gathering the essentials. A simple loaf typically requires the following:
- 3 ½ to 4 cups of all-purpose flour
- 1 packet of active dry yeast (about 2 ¼ teaspoons)
- 1 cup of warm water (approximately 110°F or 43°C)
- 2 tablespoons of sugar
- 1 tablespoon of salt
- 2 tablespoons of olive oil (or melted butter)
Don’t underestimate the importance of quality ingredients! Fresh flour and yeast will yield the best results, so check the expiration dates before you start. I personally love using organic flour for that extra flavor.
Mix the Dough
In a large mixing bowl, combine the warm water, sugar, and yeast, letting it sit for about 5 to 10 minutes until it becomes frothy. This step is crucial for activating your yeast, which is what will leaven your homemade bread. Once frothy, add the olive oil and salt. Gradually incorporate 3 cups of flour, mixing until the dough forms a shaggy mass.
If you’re interested in more effective mixing techniques, you might want to check out resources from the King Arthur Baking Company, a great place for bread enthusiasts.
Knead the Dough to Perfection
Now comes the fun part—kneading! Transfer the dough onto a floured surface and, using your palms, press and fold the dough for about 8-10 minutes. This is where you can let out any stress from the day! You’re aiming for a smooth, elastic texture, which means it should bounce back when you poke it gently.
While some people gravitate toward using a stand mixer with a dough hook, I truly enjoy the tactile experience of kneading by hand. It’s meditative. Just make sure to dust your surface with flour to prevent sticking!
Allow the Dough to Rise
Once kneading is complete, shape the dough into a ball and place it in a lightly greased bowl, covering it with a clean kitchen towel or plastic wrap. Let it rise in a warm area until it doubles in size—usually about 1 to 2 hours. The patience pays off; you’ll love the rich scent wafting through your kitchen as it rises!
If you’re in a hurry, you can speed up the process by placing the dough in a slightly warmed oven with the light on, providing a cozy environment for growth.
Shape Your Loaf
After about an hour, it’s time to punch down the risen dough to remove excess air. Gently turn it out onto a floured surface and shape it into a loaf. Here’s a tip: forming it into a tight cylinder will promote an even bake and a lovely crumb. Place it seam-side down in a greased loaf pan and cover it again to rise for another 30-45 minutes.
Bake Your Delicious Bread
Preheat your oven to 350°F (175°C). Once your dough has risen nicely once more, it’s time to bake! Pop the loaf in the oven for 30-35 minutes, or until it has a golden brown crust and sounds hollow when tapped.
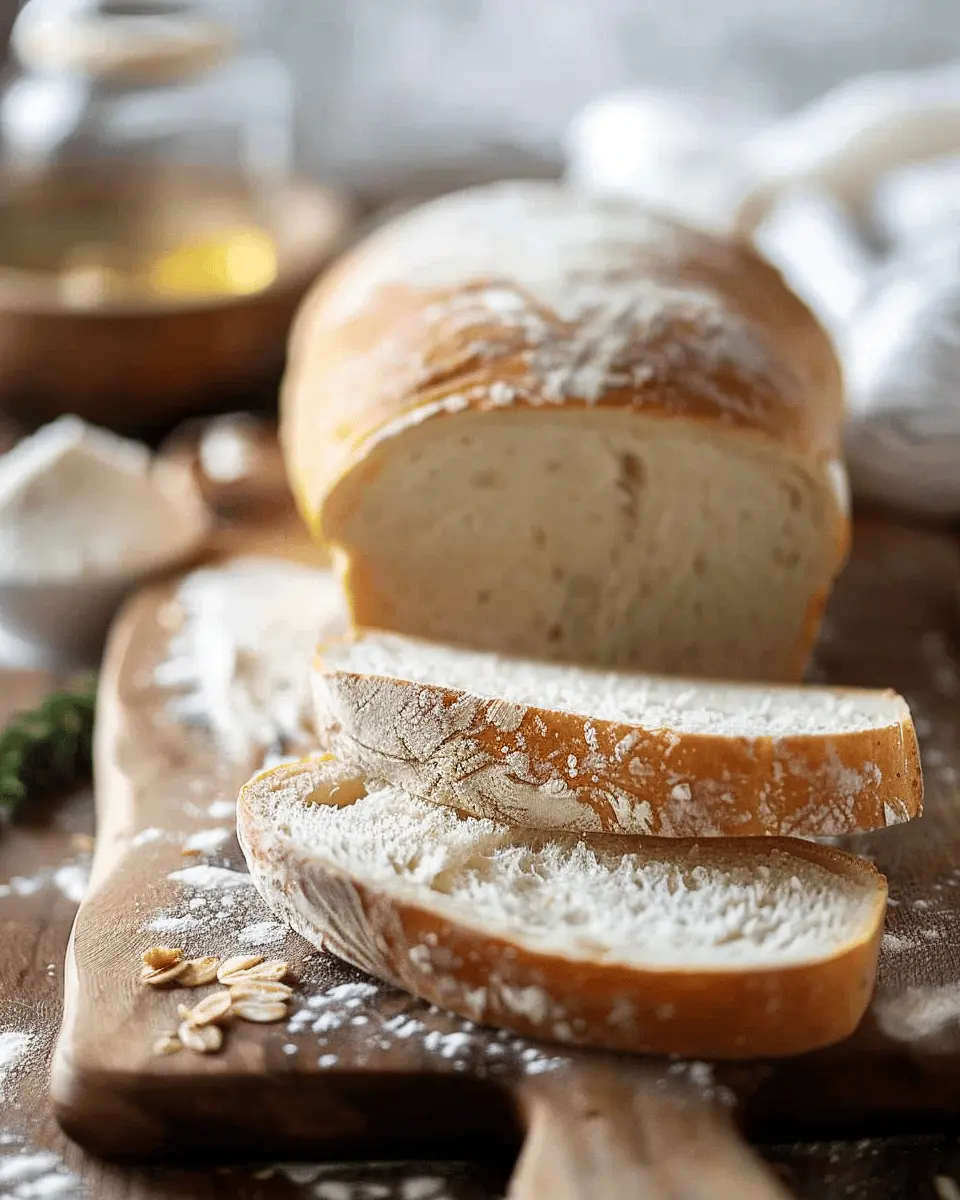
The aroma of baking homemade bread is unmatched. You can serve it warm with butter, or use it for sandwiches with turkey bacon or chicken ham, as they pair excellently with the soft texture of your fresh loaf.
Don’t forget to let it cool on a wire rack before slicing! This will prevent the interior from becoming gummy and will make for that perfect slice.
With these steps, you’ve embarked on a rewarding journey of creating your own homemade bread! Enjoy the process, and happy baking!
Variations on Homemade Bread
There’s something incredibly satisfying about homemade bread that can be enhanced through creative variations. Whether you’re looking for a savory treat or a sweet indulgence, let’s explore two delightful twists on the classic.
Herb-Infused Bread
Imagine walking into your kitchen and being greeted by the warm aroma of herb-infused homemade bread. This variation is perfect for those looking to elevate their bread game with fresh or dried herbs. Here’s how to make it:
- Choose your herbs: Rosemary, thyme, and basil work wonders. Fresh herbs can add a vibrant flavor, while dried herbs bring a concentrated richness.
- Incorporate wisely: Mix finely chopped herbs into your dough during the kneading stage, or sprinkle them on top before baking for an attractive finish.
- Pairing tip: This bread is fantastic with dishes like roasted chicken or a hearty soup.
Check out this guide on herb combinations to inspire your creation.
Sweet Bread with Dried Fruits
If you have a sweet tooth, sweet bread with dried fruits is a must-try! This version of homemade bread adds a touch of indulgence that can brighten any breakfast or snack time. Consider these suggestions:
- Fruit selection: Dried apricots, cranberries, and raisins are excellent choices. They’ll plump up in the dough, providing bursts of sweetness.
- Sweeten it up: A pinch of cinnamon or nutmeg adds warmth and depth to the flavor profile.
- Serving suggestion: Enjoy this bread toasted with a smear of cream cheese or butter for a delightful treat.
For more on incorporating dried fruits into your baking, check out this article on best dried fruit combinations.
Experimenting with these variations can turn your kitchen into a flavorful haven, so why not give them a try? You might just discover your new favorite loaf!
Cooking Tips and Notes for Homemade Bread
Common Mistakes to Avoid
Baking homemade bread can feel intimidating, but avoiding a few common pitfalls will make all the difference:
- Don’t rush the rise: Patience is key! Allow your dough ample time to double in size; this enhances flavor and texture.
- Measure correctly: Invest in a kitchen scale. Properly measuring flour and liquids can prevent dry or overly sticky dough.
- Knead enough: Ensure your dough is stretchy and smooth. A good knead develops gluten, a crucial component for structure.
How to Achieve the Perfect Crust
A delightful crust can elevate your homemade bread experience. Here’s how to get that golden, crispy outer layer:
- Steam it up: Place a pan of water in the oven during baking. This creates steam, which helps develop a nice crust.
- Bake at the right temperature: High initial heat (around 450°F) can help you achieve that crusty exterior, then lower for even cooking.
- Let it cool: Resist the urge to slice too soon! Allow your bread to cool on a wire rack to set that crust beautifully.
For more tips, check out resources like King Arthur Baking or America’s Test Kitchen for expert advice. Happy baking!
Serving Suggestions for Homemade Bread
Homemade bread is not just a treat for the senses; it pairs beautifully with a variety of flavors. Here’s how to make the most of your baking efforts.
Ideal Pairings for Different Bread Varieties
- Sourdough: The tangy flavor of sourdough bread complements sharp cheeses, like aged cheddar. Add some figs or a drizzle of honey for a gourmet touch.
- Whole Wheat: Its hearty texture pairs wonderfully with turkey bacon or grilled veggies. Consider a fresh pesto spread for an extra boost of flavor.
- Ciabatta: Perfect for sandwiches! Layer in chicken ham, fresh mozzarella, and basil for a delicious twist.
Creative Ways to Enjoy Homemade Bread
The possibilities are endless when it comes to enjoying your homemade bread.
- French Toast: Use stale slices from your homemade bread for a delightful brunch option. Just dip in an egg mixture and cook until golden.
- Garlic Bread: Slather butter mixed with minced garlic and parsley onto slices of ciabatta or sourdough. Bake until crispy—a fantastic side for pasta night!
Get inspired and experiment with flavors you love. The joy of homemade bread is that each loaf can spark creativity in your kitchen! For more tips on cooking with bread, check out The Kitchn.
Time Breakdown for Making Homemade Bread
Making homemade bread is a labor of love, and understanding the time involved can help manage your expectations.
Preparation Time
Kick things off with about 15-20 minutes. This includes gathering your ingredients, measuring, and mixing them together. A well-organized kitchen makes this step a breeze—so don’t be afraid to prep beforehand!
Rising Time
Patience is key when it comes to rising. Allow the dough to rise for about 1-2 hours, or until it doubles in size. Factors like room temperature can affect this, so keep an eye on it!
Baking Time
Once your dough is ready, baking will take around 25-30 minutes. You’ll know it’s done when the loaves sound hollow when tapped. The delightful aroma of fresh homemade bread will be worth the wait!
For more tips on bread-making, check out King Arthur Baking, where you’ll find a wealth of information to guide you. And don’t forget, practice makes perfect!
Nutritional Facts for Homemade Bread
When diving into the world of homemade bread, it’s tempting to think about flavor first, but understanding the nutritional stats can help you make informed choices.
Calories
A slice of homemade bread typically contains around 80-100 calories, depending on the ingredients you use. Whole grain variations can offer even more nutritional benefits!
Carbohydrates
The carb content can vary based on the type of flour you opt for. On average, expect around 15-20 grams of carbs per slice, making it a fantastic energy source for your day.
Fiber Content
One of the best things about homemade bread is its ability to pack in fiber, especially if you use whole grains. You can commonly find 2-3 grams of fiber per slice, aiding in digestion and keeping you feeling full longer.
For more detailed information on the nutritional benefits of bread, check out resources like the USDA FoodData Central or the American Heart Association. These can provide deeper insights into making your homemade bread even more nutritious without sacrificing deliciousness!
FAQs about Homemade Bread
How do I know when my bread is done baking?
Determining when your homemade bread is perfectly baked is key to achieving that golden crust and fluffy interior. One foolproof method is to tap the bottom of the loaf; if it sounds hollow, that’s a solid sign it’s ready. Additionally, using a kitchen thermometer can take the guesswork out — a loaf of bread is fully baked when it reaches an internal temperature of around 190°F to 210°F.
Can I make homemade bread without yeast?
Absolutely! If you’re in the mood for a quick bread or don’t have yeast on hand, consider trying a recipe using baking soda or baking powder instead. These leavening agents can create a delightful texture without the fermentation process. Think of traditional Irish soda bread or a savory cornbread variation; these breads are approachable and can be whipped up in no time.
What’s the best way to store homemade bread?
To keep your homemade bread fresh, storing it correctly is essential. Here are a few tips:
- Cool Completely: Let your bread cool completely on a wire rack before storing.
- Wrap It Up: Use plastic wrap or put it in a ziplock bag to prevent it from drying out.
- Avoid the Fridge: While it may seem logical, refrigerating bread can make it stale faster. Instead, store it at room temperature.
- Freezing for Later: If you have leftovers, wrap your bread tightly and pop it in the freezer. It can last for up to three months, making it convenient for future meals.
For more techniques on bread storage, check out resources from the Bread Lab, which dives deeper into bread preservation methods.
Conclusion on Homemade Bread
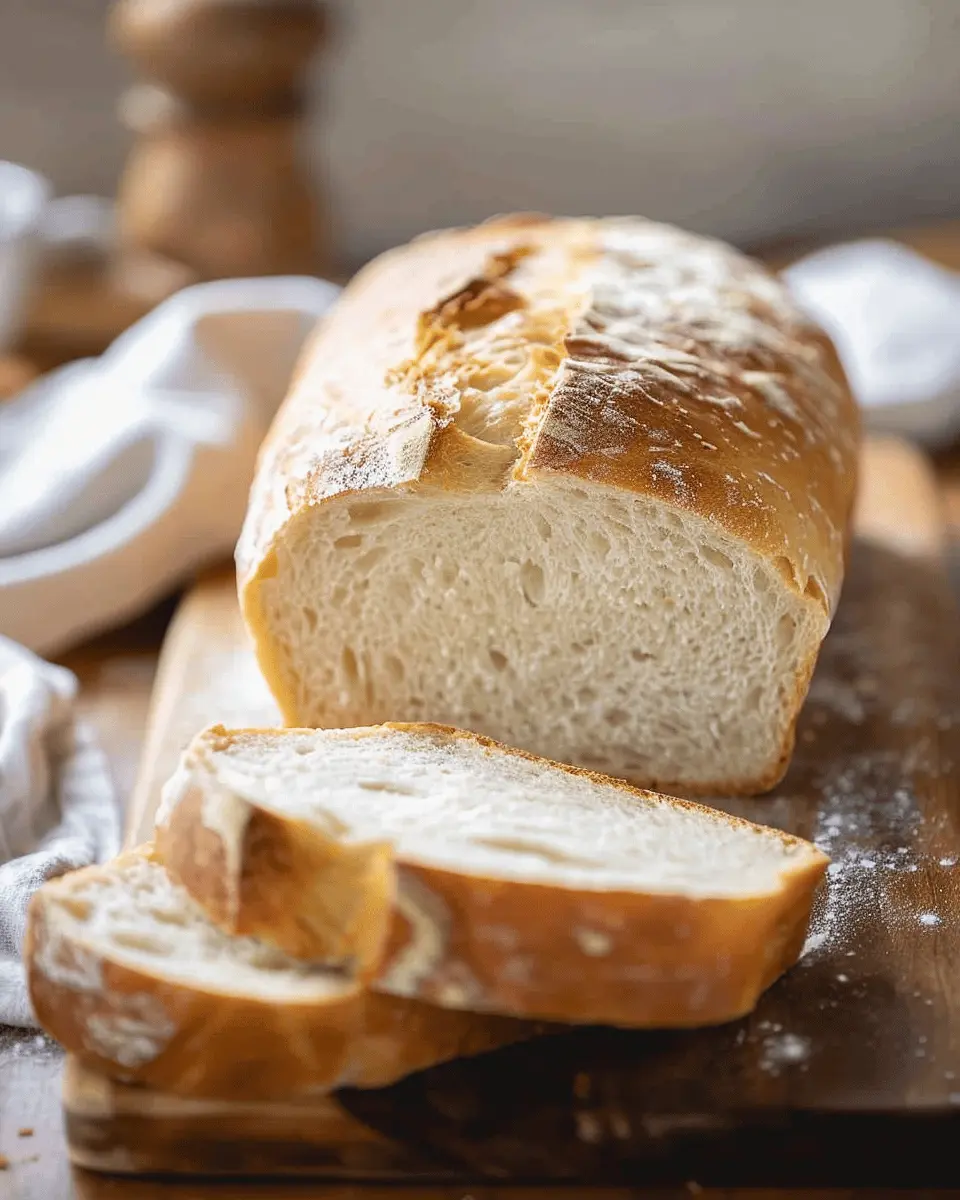
Embracing the Joy of Homemade Bread
Making homemade bread is not just about following a recipe; it’s about the connection and satisfaction that comes from creating something from scratch. There’s a unique joy in kneading dough, watching it rise, and inhaling the aroma of freshly baked bread filling your kitchen. Each loaf is an opportunity to experiment with flavors and techniques, whether you’re incorporating herbs or trying out gluten-free options.
So, why not gather your friends or family for a baking session? Share your best tips and maybe even host a bread-tasting evening. For more inspiration, check out sources like King Arthur Baking and The Bread Lab to elevate your baking game. Remember, every slice of homemade bread is a slice of bliss that brings people together!
PrintHomemade Bread: The Easy Comfort Food You’ll Love to Bake
Learn how to bake homemade bread that is both easy and delicious, perfect for comforting meals.
- Prep Time: 10 minutes
- Cook Time: 35 minutes
- Total Time: 1 hour 45 minutes
- Yield: 1 loaf 1x
- Category: Breads
- Method: Baking
- Cuisine: American
Ingredients
- 4 cups all-purpose flour
- 1 tablespoon salt
- 2 tablespoons sugar
- 1 packet active dry yeast
- 1.5 cups warm water
- 2 tablespoons olive oil
Instructions
- In a large bowl, combine warm water, yeast, and sugar. Let it sit for 5 minutes until frothy.
- Add olive oil, salt, and flour gradually, mixing until a dough forms.
- Knead the dough for about 10 minutes until smooth and elastic.
- Place the dough in a greased bowl, cover, and let it rise for 1 hour or until doubled in size.
- Preheat the oven to 375°F (190°C).
- Punch down the dough and shape it into a loaf.
- Place it in a greased loaf pan and let it rise for another 30 minutes.
- Bake for 30-35 minutes or until golden brown.
- Let the bread cool on a wire rack before slicing.
Notes
- For a crustier loaf, place a pan of water in the oven while baking.
- Experiment with different flours for unique flavors.
Nutrition
- Serving Size: 1 slice
- Calories: 150
- Sugar: 1g
- Sodium: 200mg
- Fat: 3g
- Saturated Fat: 0.5g
- Unsaturated Fat: 2g
- Trans Fat: 0g
- Carbohydrates: 27g
- Fiber: 1g
- Protein: 5g
- Cholesterol: 0mg
Keywords: Homemade Bread