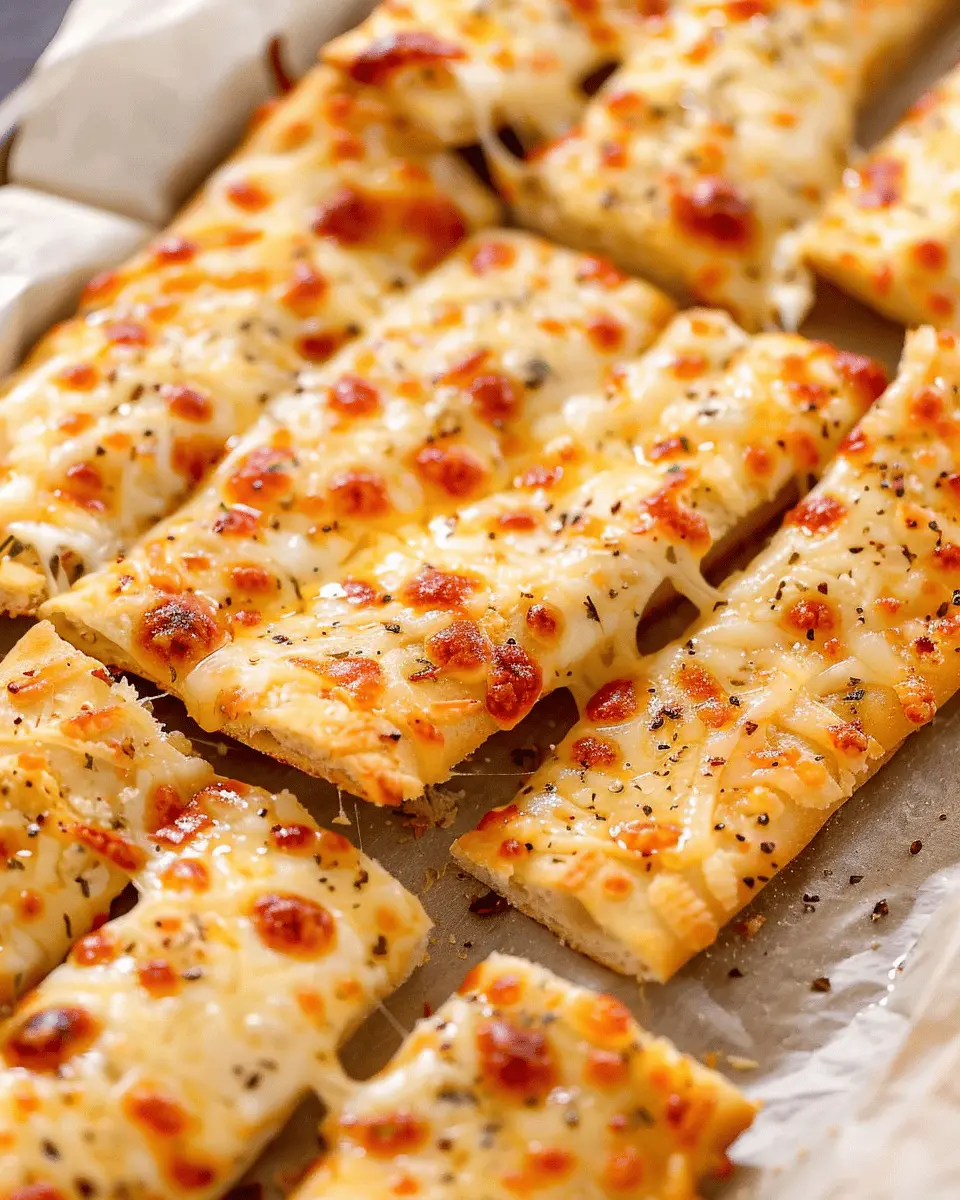
Introduction to Homemade Cheesy Breadsticks
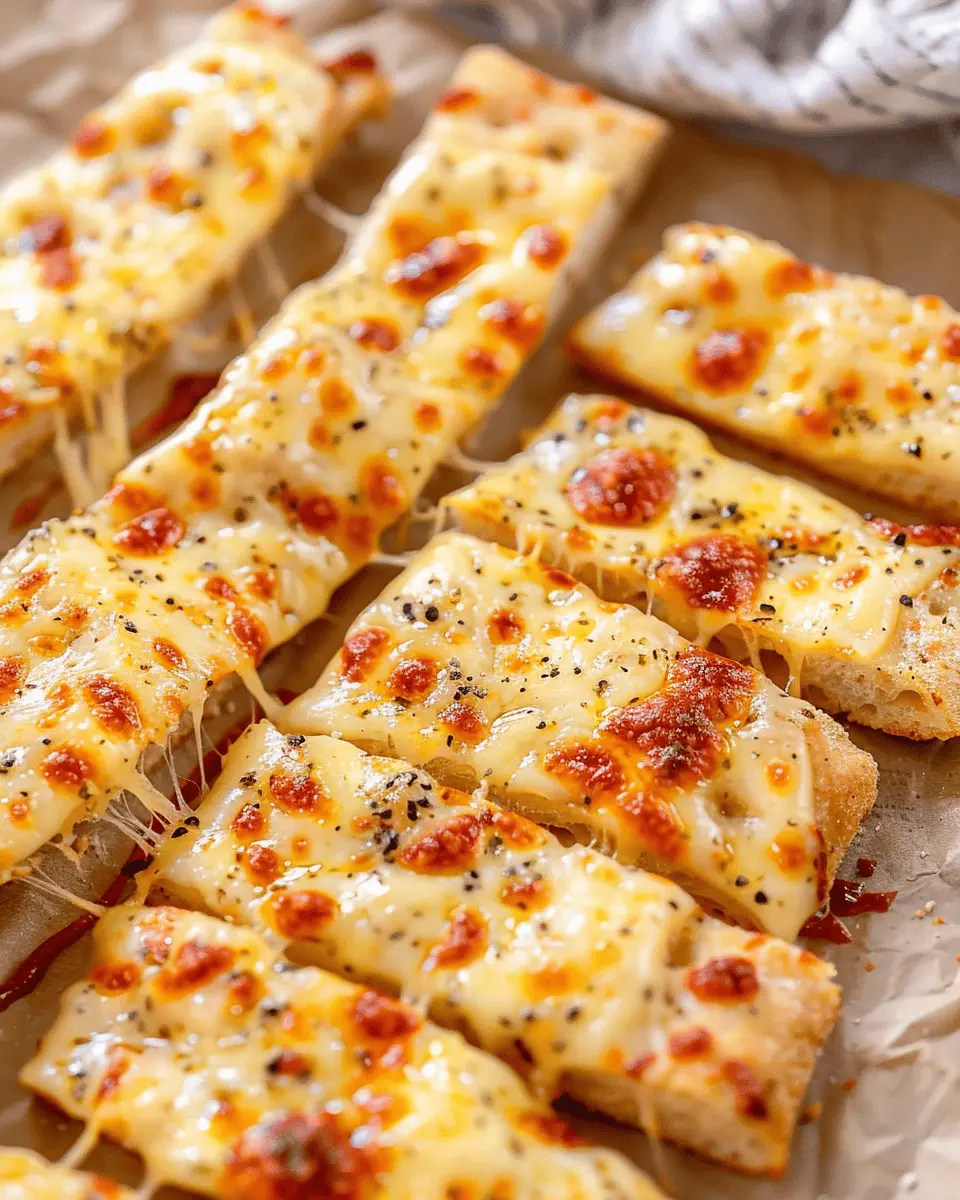
When it comes to comfort food, homemade cheesy breadsticks have a special place in many hearts. Picture this: a cozy evening while binge-watching your favorite series or hosting friends for game night, and there it is—you, serving up golden, gooey breadsticks fresh out of the oven. They are tangy, cheesy, and oh-so-satisfying. Sounds delightful, right?
Why Homemade Cheesy Breadsticks Are the Ultimate Comfort Food
So, why are homemade cheesy breadsticks the go-to snack for so many? First and foremost, they’re versatile. You can customize them by adding your favorite toppings—like turkey bacon for a smoky twist or even some chicken ham for flavor. Want it spicier? A sprinkle of crushed red pepper or some jalapeños can easily elevate them to a new level.
But it’s not just about the toppings. Making breadsticks at home gives you control over the ingredients, ensuring they’re always fresh and made to your liking. You can opt for whole wheat flour for a healthier version or even dabble in gluten-free options. To learn more about healthy substitutions, check out the guidelines from the U.S. Department of Agriculture.
In addition to being customizable, homemade cheesy breadsticks offer the pleasure of an aromatic kitchen. There’s something joyous about the smell of bread baking and cheese melting—an olfactory experience that instantly lifts your mood. Research has shown that aromas from baking bread can trigger positive feelings, and you’ll definitely want to share that experience with friends and family.
Lastly, let’s talk about how easy they are to make. With just a few key ingredients like flour, cheese, and yeast, you can whip these up in no time. Whether you’re a kitchen novice or a seasoned chef, this recipe is perfect for everyone.
So, are you ready to impress your friends and make your evenings feel a little more special? Dive into the world of homemade cheesy breadsticks, and let’s elevate your snack game!
Ingredients for Homemade Cheesy Breadsticks
Basic Ingredients Needed
Crafting the perfect homemade cheesy breadsticks starts with a handful of essential ingredients. Here’s what you’ll need:
- Pizza Dough: You can use store-bought for convenience or try your hand at make-at-home dough.
- Cheese: A combination of mozzarella and cheddar works wonders for an ooey-gooey texture. For an even richer flavor, consider using provolone or parmesan as well.
- Garlic Powder: This adds an aromatic kick that pairs beautifully with the cheese.
- Butter: Melted butter lends a rich taste and helps achieve that golden-brown finish.
- Seasonings: Don’t be shy! A sprinkle of Italian herbs or red pepper flakes can take your breadsticks to the next level.
Optional Add-Ins for Extra Flavor
Want to elevate your homemade cheesy breadsticks even further? Here are some great add-ins to consider:
- Turkey Bacon or Chicken Ham: Chopped into small pieces, these will add a delicious, savory element.
- Olives or Jalapeños: For that perfect briny tang or heat, these can spice things up.
- Fresh Herbs: Basil or parsley contribute freshness and a pop of color.
Feel free to get creative with your ingredients! For more insights into pairing flavors, check out Serious Eats or Bon Appétit for groundbreaking ideas that complement your cheese-stuffed dreams.
Remember, the best homemade cheesy breadsticks start with your preferences, so don’t be afraid to mix and match!
Step-by-Step Preparation of Homemade Cheesy Breadsticks
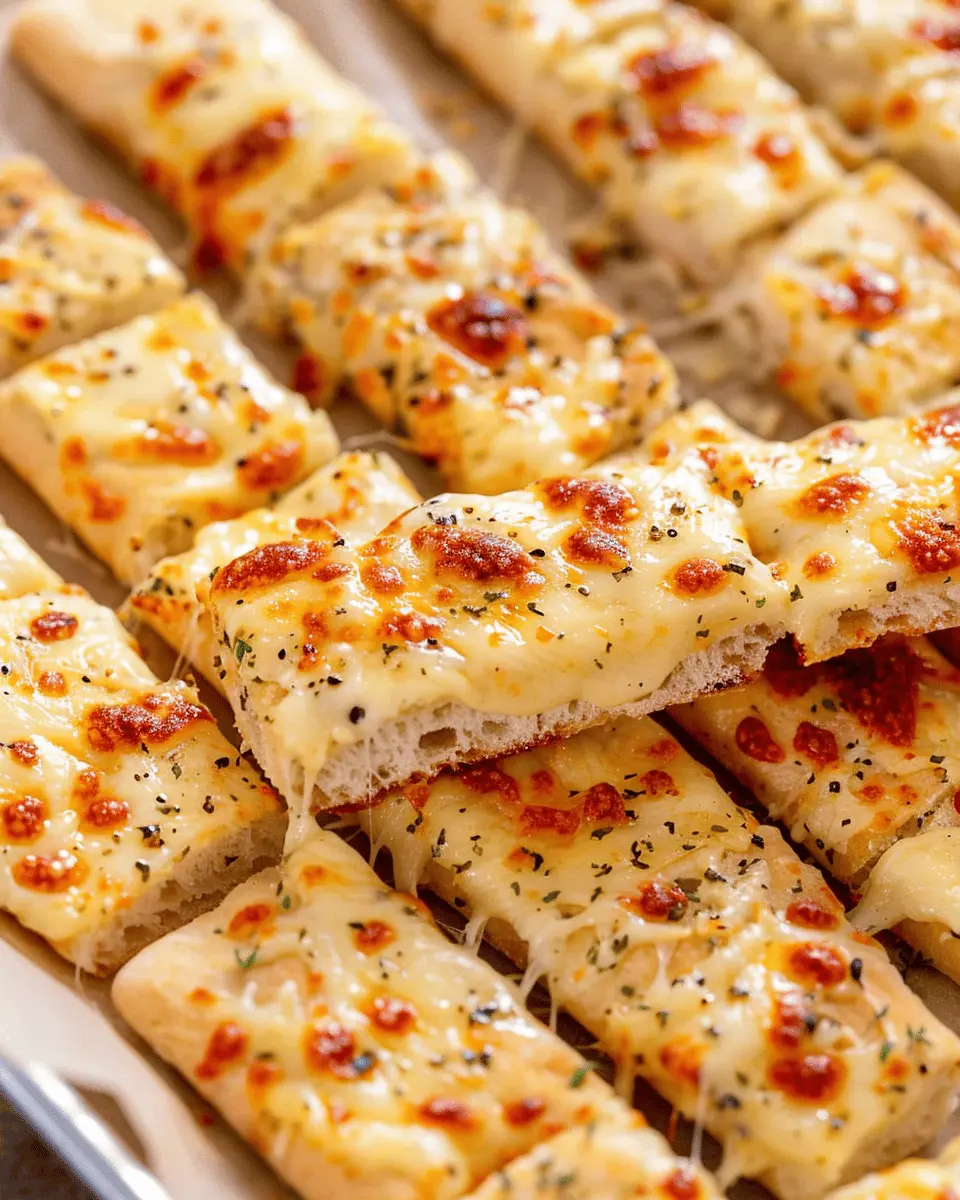
With a warm, gooey center and a crispy outside, homemade cheesy breadsticks are a comforting snack or side dish that brings joy to any mealtime. Here’s a simple guide to creating these delightful treats from scratch, perfect for sharing (or keeping all to yourself!).
Gather Your Ingredients and Tools
Before diving into the fun part, it’s essential to have everything you need right at your fingertips. For our scrumptious homemade cheesy breadsticks, you’ll require the following ingredients:
- 2 cups all-purpose flour
- 1 packet (2 ¼ teaspoons) active dry yeast
- 1 tsp sugar
- ¾ cup warm water (about 110°F)
- 1 tsp salt
- 2 tbsp olive oil
- 1 cup shredded mozzarella cheese (or your favorite blend)
- 1 tsp garlic powder (optional)
- Fresh herbs for topping (e.g., oregano or basil)
You’ll also need the following tools:
- Mixing bowl
- Rolling pin
- Baking sheet
- Parchment paper
- Kitchen towel
Having everything on hand makes the process smoother and more enjoyable. For more info on choosing the best flour or types of yeast, check out this guide from King Arthur Baking.
Prepare the Dough
Now that you have your ingredients, let’s kick things off by making that delicious dough.
-
Activate the yeast: In a small bowl, combine warm water, sugar, and yeast. Stir gently and let it sit for about 5–10 minutes, or until it becomes frothy. This is a crucial step that ensures your breadsticks will rise beautifully.
-
Mix dry ingredients: In a large mixing bowl, whisk together flour and salt.
-
Combine: Pour in the yeast mixture and olive oil. Stir until a dough forms. It may feel a bit sticky, but that’s okay!
-
Knead: Transfer the dough onto a floured surface and knead for about 5–7 minutes until it’s smooth and elastic. This step helps develop the gluten, giving your breadsticks delightful chewiness.
Don’t worry if you’re not a kneading expert; a quick knead is often all it takes.
Shape the Breadsticks
With your dough ready, it’s time to shape those irresistible breadsticks!
-
Let it rise: Place the dough in a lightly greased bowl, cover it with a kitchen towel, and let it rest in a warm spot for about 30-45 minutes, or until it doubles in size.
-
Roll it out: After the dough has risen, punch it down to release air. Roll it out on a floured surface into a rectangle, approximately ½ inch thick.
-
Cut: Using a knife or pizza cutter, slice the dough into strips about 1 inch wide.
Add the Cheese and Seasoning
This is where the magic happens!
-
Add cheese: Sprinkle shredded mozzarella over the top of the dough strips. You can layer the cheese generously for that extra cheesy goodness!
-
Sprinkle seasoning: Add garlic powder and any fresh herbs you enjoy. Italian seasoning also works wonders!
Bake to Perfection
Finally, it’s time for baking!
-
Preheat the oven: Set your oven to 375°F (190°C).
-
Arrange breadsticks: Place the dough strips on a lined baking sheet. Ensure they are spaced apart to allow for rising.
-
Bake: Pop them into the oven for about 12-15 minutes or until they are golden brown and cheese is bubbly.
-
Cool and enjoy: Allow them to cool slightly before serving them warm with your favorite dipping sauce, like marinara or ranch.
There you have it, step-by-step homemade cheesy breadsticks that are sure to impress! Whether for a cozy night in or as a party snack, these cheesy delights will have everyone coming back for more. Enjoy your cheesy creation!
Variations of Homemade Cheesy Breadsticks
When it comes to homemade cheesy breadsticks, the options are practically limitless! Let’s explore a couple of enticing variations that will elevate your snack game.
Garlic and Herb Cheesy Breadsticks
Imagine biting into warm, gooey cheesy breadsticks that are infused with the rich aroma of garlic and fresh herbs. Here’s how to achieve that delightful flavor:
- Ingredients: Besides your cheesy bread base, add minced garlic (about 2-3 cloves), and a mix of dried herbs like oregano, basil, and parsley.
- Method: Before baking, brush the breadsticks with a mixture of melted butter and minced garlic, then sprinkle with your herbs. The result? An irresistible, fragrant treat bursting with flavor.
This variation pairs wonderfully with marinara sauce or a creamy ranch dip. According to a 2019 culinary study, garlic not only enhances flavor but also has health benefits like supporting heart health.
Spicy Cheesy Breadsticks with Jalapeños
For those who crave a kick of heat, spicy cheesy breadsticks featuring chopped jalapeños are sure to ignite your taste buds!
- Ingredients: Incorporate diced jalapeños (fresh or pickled) into the cheese mixture. You can adjust the amount based on your spice tolerance.
- Method: Before baking, mix the jalapeños into the cheese blend and top with additional cheese for an extra gooey finish.
These spicy delights are perfect for game day or a cozy movie night. Pair them with a refreshing beverage like homemade iced tea to cool down the heat.
Whichever variation you choose, you can’t go wrong with homemade cheesy breadsticks that reflect your personal taste! So, why not whip up a batch today and impress your friends or family?
Cooking Tips and Notes for Homemade Cheesy Breadsticks
Common Mistakes to Avoid
Making homemade cheesy breadsticks is easier than it seems, but a few common missteps can affect your final result. Here are some pitfalls to watch out for:
- Overmixing the Dough: Mixing too long can lead to tough breadsticks. Aim for just combined ingredients for a soft, fluffy texture.
- Underbaking: If they look pale, they probably need more time in the oven. Golden-brown edges are key to a delicious crunch.
- Skipping the Cheese: In a cheesy recipe, this might sound odd, but don’t spare the cheese! Using a blend increases flavor and melt.
Storage Tips for Leftovers
If you’ve indulged in your homemade cheesy breadsticks and have some leftovers, here’s how you can keep them fresh:
- Cool Completely: Allow your breadsticks to cool on a wire rack before storing. This prevents moisture buildup.
- Use Airtight Containers: Place them in an airtight container or wrap tightly in foil to keep them fresher longer.
- Reheat Tips: For the best results, reheat in the oven at 350°F until warm, rather than the microwave, to maintain that delightful crispiness.
For more culinary insights, check out this guide on maximizing leftovers for inventive meals from BBC Good Food.

Serving Suggestions for Homemade Cheesy Breadsticks
Pairing with Dips and Sauces
When it comes to enjoying your homemade cheesy breadsticks, the right dips can elevate them to a whole new level. Consider serving them with:
- Marinara Sauce: A classic pairing, marinara adds a zesty contrast to the cheesy goodness.
- Ranch Dressing: Creamy and tangy, ranch is a crowd favorite that complements the flavors beautifully.
- Garlic Butter: For a richer option, a warm garlic butter dip will have everyone coming back for seconds.
These dips not only provide added flavor but also appeal to various palates. A study by the National Restaurant Association found that about 73% of consumers enjoy dipping sauces, so your guests will surely appreciate the options.
Making It a Complete Meal
Want to turn your homemade cheesy breadsticks into a complete meal? Pair them with:
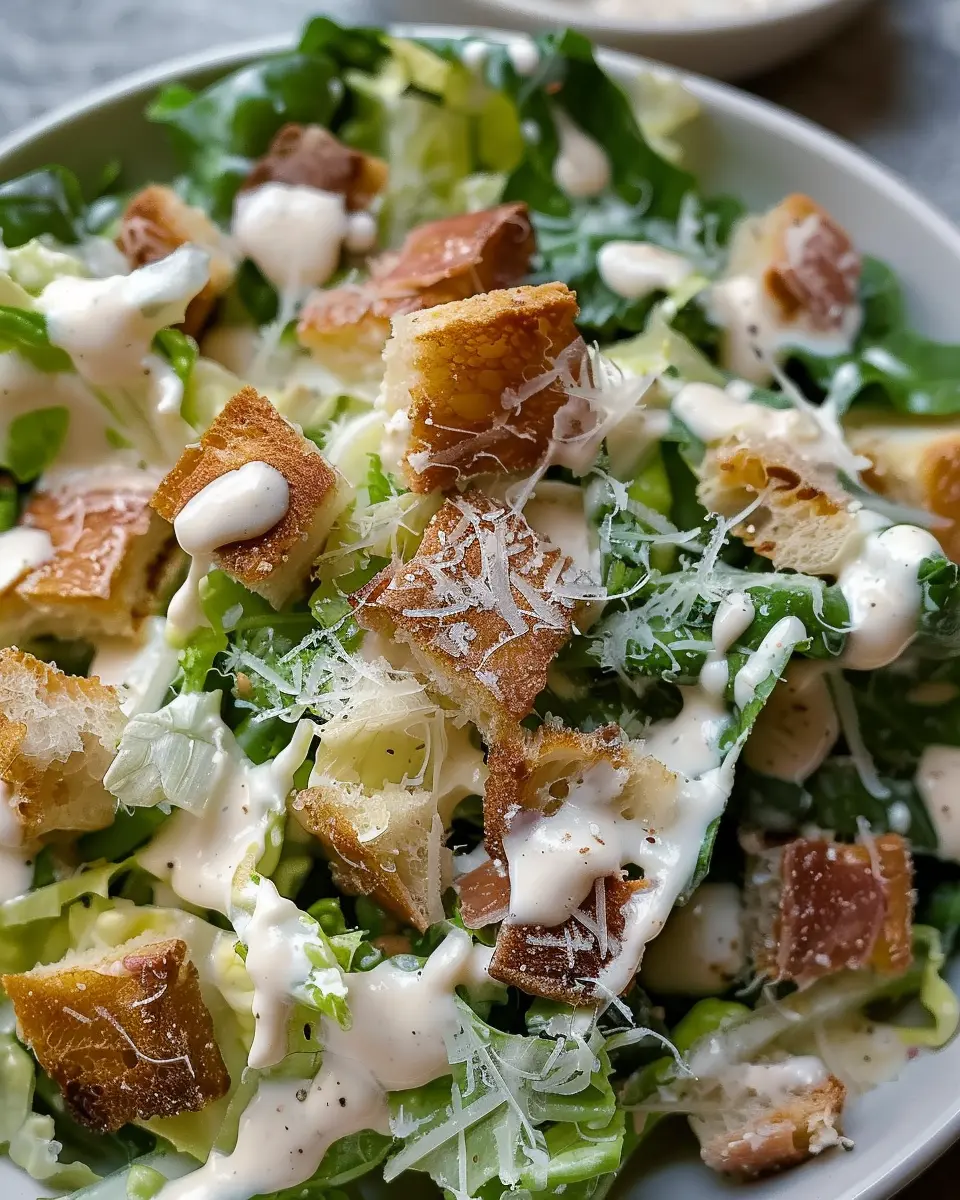
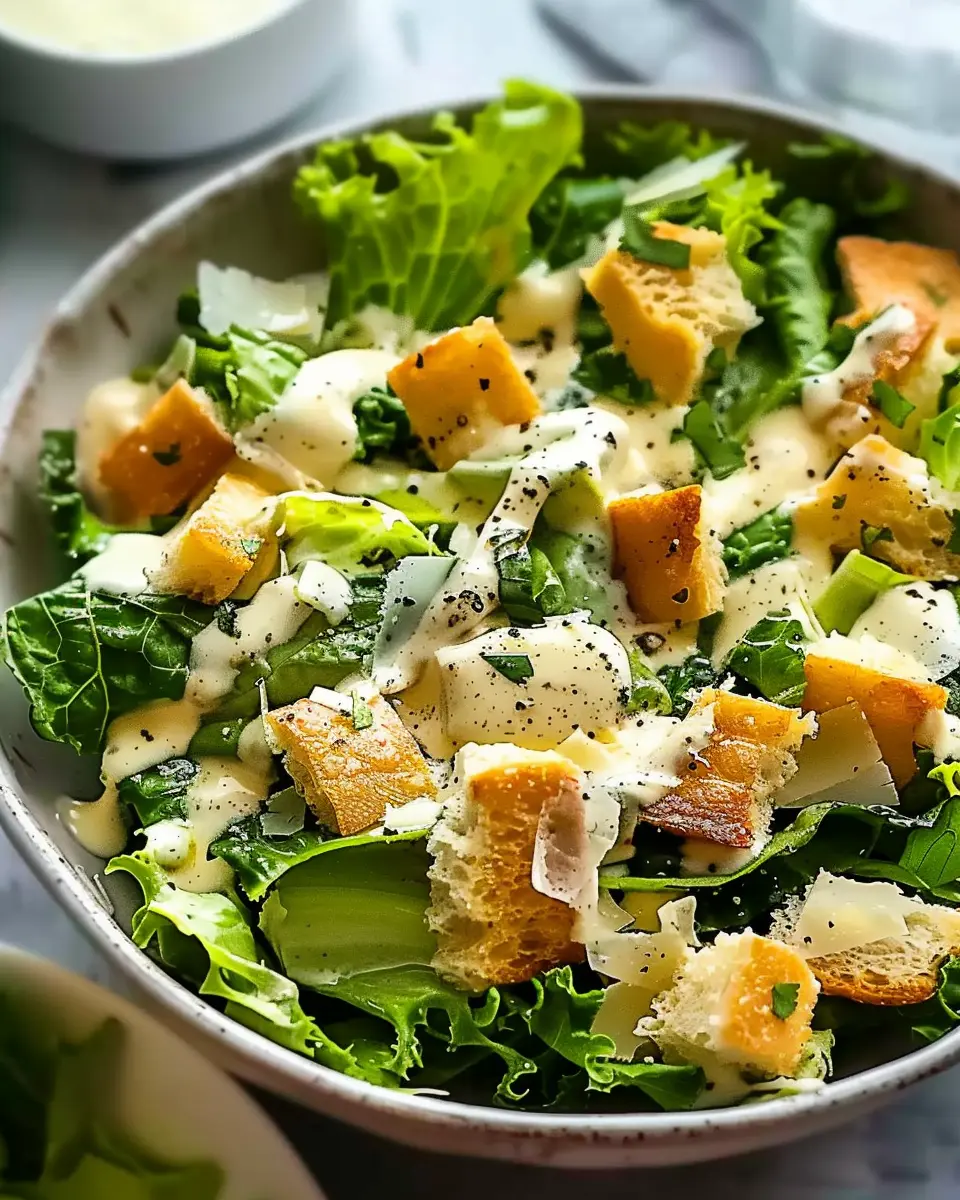
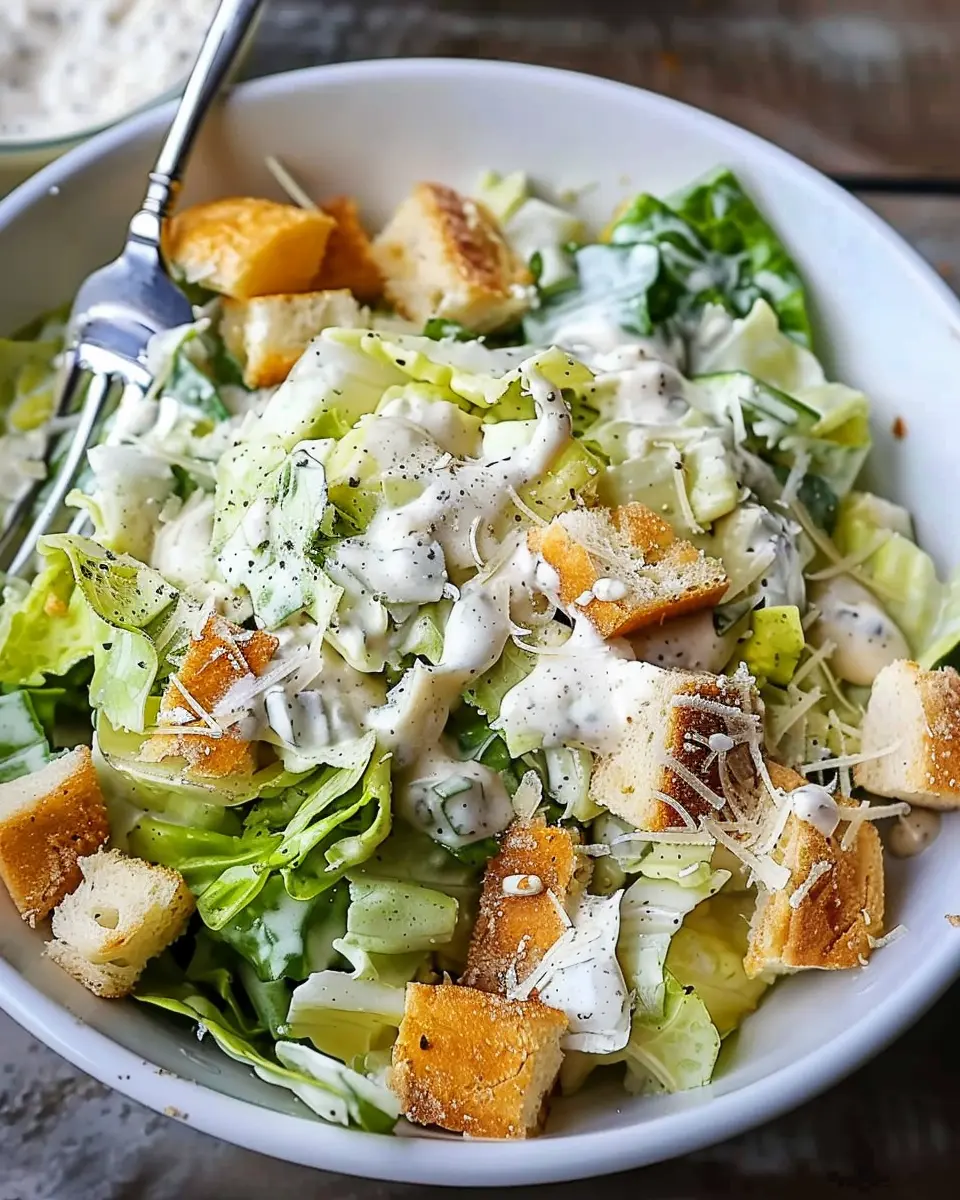
- Salads: A fresh Caesar or mixed greens salad balances the heaviness of cheese with refreshing crunch.
- Soups: Tomato soup is a classic choice, while a hearty beef or chicken soup offers warmth and satisfaction.
Having some proteins, like grilled chicken or Turkey bacon, on the side can also make the meal more filling. Everyone loves versatility in their meals, so don’t hesitate to mix and match. With these suggestions, your cheesy breadstick experience will feel not just like a snack but a delightful meal that friends and family will enjoy! Want more creative ideas? Check out resources like Serious Eats for inspiration.
Time Breakdown for Homemade Cheesy Breadsticks
Preparation Time
Getting started on your delicious homemade cheesy breadsticks takes about 15 minutes. This includes mixing the ingredients and preparing the dough. If you’re like me and love to multitask, you could even prep while catching up on your favorite podcast!
Baking Time
Once your dough is ready, baking these cheesy delights will take around 20 minutes. The aroma of bubbling cheese and warm bread filling your kitchen is absolutely worth the wait!
Total Time
In total, you’re looking at about 35 minutes from start to finish. With this quick timeframe, homemade cheesy breadsticks are perfect for a snack, appetizer, or even a cozy dinner side. Curious about enhancing your breadsticks? Check out tips from culinary experts at Food Network for flavor variations!
Nutritional Facts for Homemade Cheesy Breadsticks
Calories Per Serving
When indulging in homemade cheesy breadsticks, you might be curious about the impact on your daily caloric intake. Typically, each serving contains around 200-250 calories. While they make a delightful snack or appetizer, it’s good to enjoy them in moderation, especially if you’re watching your calorie consumption.
Key Nutrients
Besides being a tasty treat, these cheesy breadsticks offer some key nutrients:
- Protein: The cheese contributes to a decent protein content, helping you feel full and satisfied.
- Calcium: With cheese as a primary ingredient, you’re also getting a healthy dose of calcium—essential for strong bones.
- Carbohydrates: The dough provides a quick energy source, perfect for powering through your day.
For those interested in making healthier variations, consider using whole wheat flour for added fiber. If you’re curious about cooking techniques or need inspiration, check out Nutrition.gov for tips on incorporating more nutrients into your meals!
FAQs About Homemade Cheesy Breadsticks
When it comes to making homemade cheesy breadsticks, you might find yourself with a few questions. Here are some common inquiries that might help enhance your cheesy creation experience.
Can I Use Whole Wheat Flour?
Absolutely! While traditional white flour gives a classic taste, using whole wheat flour is a great alternative. It will add a nutty flavor and extra nutrients. Just keep in mind that you may need to adjust the amount of water in your dough, as whole wheat can absorb more moisture. A fun tip: consider combining whole wheat with all-purpose flour for a balanced texture and flavor!
How Long Do They Last in the Fridge?
If you store your homemade cheesy breadsticks in an airtight container, they can last in the fridge for about 3–5 days. Just make sure they cool completely before packing them away. When you’re ready to enjoy them again, a quick reheat in the oven will revive that delightful cheesy goodness!
Can I Freeze Leftover Breadsticks?
Yes, you can! Freezing your leftover homemade cheesy breadsticks is a smart way to enjoy them later. Wrap each breadstick individually in plastic wrap and then place them in a freezer bag. They can last up to 3 months in the freezer. When you’re ready for a cheesy treat, simply reheat them in the oven, and they’ll taste fresh out of the oven!
For more tips on bread storage and freezing methods, you might check out resources like Live Well Bake Often for additional insights.
Remember, making homemade cheesy breadsticks offers not just a delicious snack, but also room for creativity—so feel free to experiment!
Conclusion on Homemade Cheesy Breadsticks
Final Thoughts on Homemade Cheesy Breadsticks
There you have it—your step-by-step guide to making delicious homemade cheesy breadsticks! These cheesy delights are not only simple to whip up but also perfect for any occasion. Imagine enjoying them fresh from the oven, perfectly gooey and satisfying.
Don’t hesitate to personalize your recipe by adding extras like Turkey Bacon or even sautéed veggies. Cooking is all about experimentation! Whether you’re hosting a game night or just treating yourself, these cheesy breadsticks will surely impress. So, why not give this recipe a try? You might just find your new favorite snack! For more inspiration, check out sources like The Kitchn or Serious Eats for tips and variations. Happy cooking!
PrintHomemade Cheesy Breadsticks: The Best Easy Recipe for Everyone
Deliciously cheesy breadsticks that are easy to make and perfect for any occasion.
- Prep Time: 15 minutes
- Cook Time: 20 minutes
- Total Time: 35 minutes
- Yield: 12 breadsticks 1x
- Category: Appetizers
- Method: Baking
- Cuisine: Italian
- Diet: Vegetarian
Ingredients
- 2 cups all-purpose flour
- 1 teaspoon salt
- 1 tablespoon sugar
- 1 packet active dry yeast
- 1 cup warm water
- 2 tablespoons olive oil
- 1 cup shredded mozzarella cheese
- 1 teaspoon garlic powder
- 1 teaspoon Italian seasoning
Instructions
- In a bowl, mix warm water and yeast; let it sit until foamy.
- In another bowl, combine flour, salt, and sugar.
- Gradually add the yeast mixture and olive oil to the dry ingredients.
- Knead the dough for about 5 minutes until smooth.
- Allow the dough to rise in a warm place for about 1 hour.
- Preheat your oven to 375°F (190°C).
- Roll out the dough into a rectangle, about 1/2 inch thick.
- Sprinkle cheese, garlic powder, and Italian seasoning on top; fold and roll out again.
- Cut into strips and place on a baking sheet.
- Bake for 15-20 minutes or until golden brown.
Notes
- For extra flavor, brush with melted butter before serving.
- Serve warm with marinara sauce for dipping.
Nutrition
- Serving Size: 1 breadstick
- Calories: 150
- Sugar: 1g
- Sodium: 200mg
- Fat: 5g
- Saturated Fat: 1g
- Unsaturated Fat: 3g
- Trans Fat: 0g
- Carbohydrates: 22g
- Fiber: 1g
- Protein: 5g
- Cholesterol: 10mg
Keywords: Homemade Cheesy Breadsticks