Introduction to Homemade Sourdough Bread
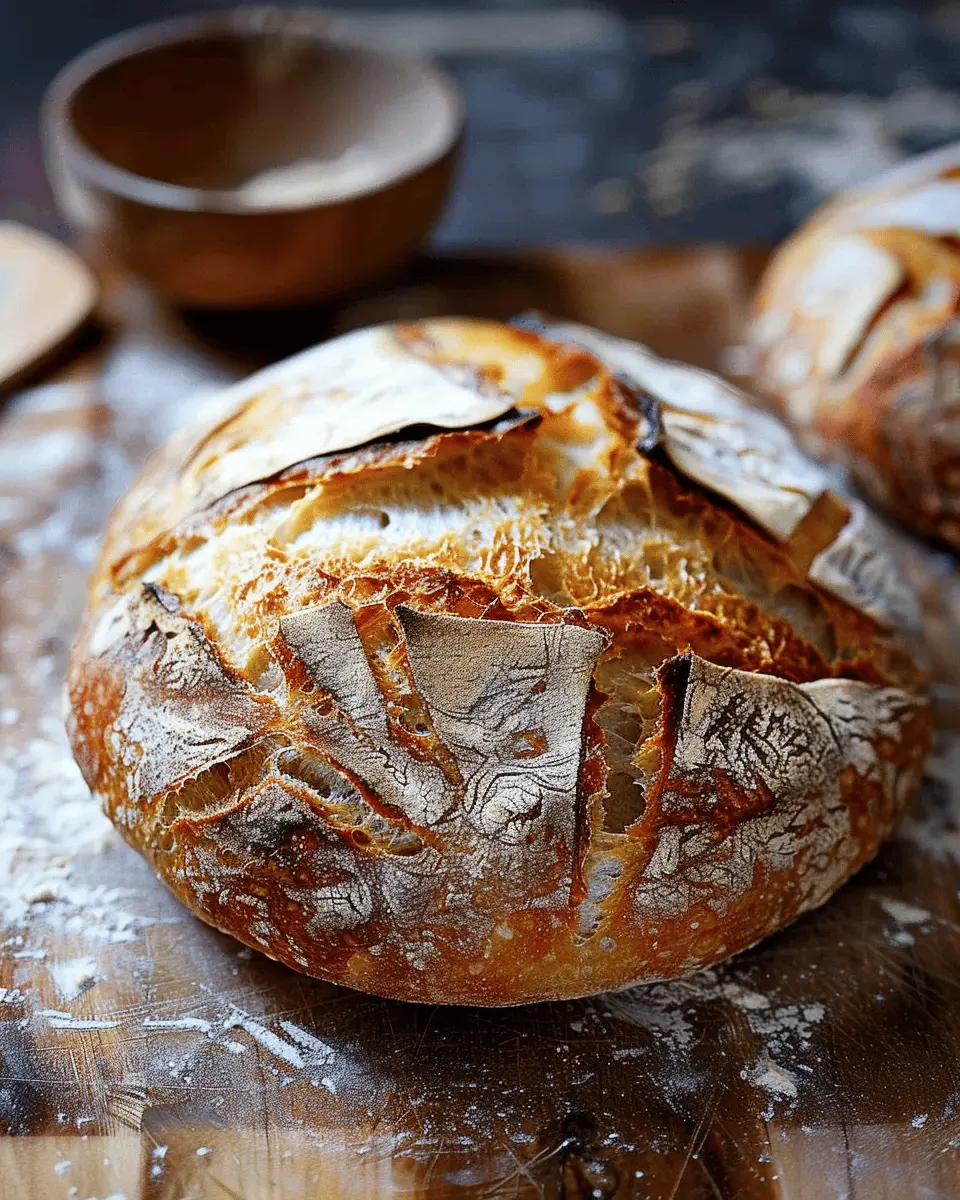
When it comes to baking, homemade sourdough bread is nothing short of a revelation. Have you ever tasted a fresh slice right out of the oven—crispy on the outside, soft and chewy on the inside? There’s truly nothing like it! While many might shy away from the idea of making sourdough at home, the truth is that once you understand the basics, you’ll unlock a world of flavor and satisfaction that simply can’t be matched by store-bought options.
Why is Homemade Sourdough Bread a Game Changer?
The beauty of homemade sourdough bread lies in its versatility and the incredible health benefits it offers. Traditional bread relies on commercial yeast, but sourdough uses naturally occurring yeast and bacteria to create a unique flavor and texture—a little scientific magic! According to the National Institutes of Health, the fermentation process enhances the bread’s nutritional value, making it easier for your body to absorb nutrients and digest gluten.
What sets your homemade sourdough bread apart from commercial varieties? Here’s a quick highlight:
- Customizability: You can experiment with different flours, grains, and add-ins like seeds, nuts, or even dried fruits.
- Healthier Choice: Fermented sourdough can have a lower glycemic index, which is beneficial for blood sugar control. Research indicates that some people with gluten sensitivities find sourdough easier to digest.
- Cost-Effective: Once you establish your sourdough starter, you’ll be amazed at how economical it is to make bread at home.
Baking your own sourdough not only supports your health but also fosters creativity. Are you craving a rich, nutty loaf? Or perhaps a tangy one with hints of honey? The possibilities are endless!
Furthermore, gathering around with friends and family as your home fills with the aroma of baking bread creates memories and connects us to traditions that have stood the test of time. So, why not join the sourdough revolution? The process might take a little time and patience, but the reward—a loaf of homemade goodness—makes it all worthwhile.
If you’re ready, let’s delve into the step-by-step journey of crafting your very own homemade sourdough bread!
Ingredients for Homemade Sourdough Bread
When it comes to crafting a flavorful loaf of homemade sourdough bread, the beauty lies in simplicity. Let’s explore the essential ingredients you’ll need to create that perfect crusty exterior and soft, airy interior.
Essential ingredients for the perfect loaf
To get started, you’ll need:
- Sourdough Starter: This is the heart of your bread, filled with wild yeast and bacteria that give your loaf its unique flavor and texture.
- Flour: Use high-quality bread flour for the best results. You can also experiment with whole wheat or spelt flour for a nutritious twist.
- Water: Make sure to use filtered or spring water to avoid any chlorine that can affect fermentation.
- Salt: This enhances flavor and strengthens the gluten structure, helping to develop that excellent rise.
For a deeper dive into the science of bread-making, you can check out King Arthur Baking.
Optional add-ins for a flavor boost
Once you’ve mastered the basics, feel free to get creative! Consider adding:
- Seeds and Nuts: Pumpkin seeds, sunflower seeds, or walnuts can add texture and flavor.
- Herbs: Fresh or dried herbs like rosemary or thyme give your bread a delicious twist.
- Cheese: Incorporating finely grated cheese can elevate your loaf to gourmet status.
- Sweeteners: For a hint of sweetness, a bit of honey or maple syrup can complement the sour.
With these ingredients and options, your homemade sourdough bread journey is sure to be rewarding!
Step-by-step Preparation of Homemade Sourdough Bread
Making homemade sourdough bread is more than just a baking project; it’s a rewarding experience that connects you with each step of the process. This guide will take you through the journey of creating your own delicious, crusty loaf of sourdough from scratch. Let’s dive right in!
Gather Your Materials
Before you get started, make sure you have everything you need on hand. Here’s a quick checklist:
- All-purpose flour or bread flour
- Water (filtered or bottled for best results)
- Salt
- A sourdough starter (we’ll make this next)
- Mixing bowl
- Dough scraper
- Kitchen scale (for more precise measurements)
- Banneton or proofing basket
- Dutch oven or baking stone
Having everything prepped will help the process go smoothly. Don’t you just love the smell of fresh ingredients?
Make Your Sourdough Starter
You can either purchase a sourdough starter from a reputable source or create your own. If you’re making your starter, mix equal weights of flour and water (usually around 100g each) in a jar. Stir it well, cover it with a cloth, and let it sit at room temperature. Feed it daily with equal parts of flour and water until it bubbles and doubles in size—usually around five to seven days. This lively mixture is what gives your homemade sourdough bread its unique flavor and texture.
For tips on cultivation, I recommend checking out The Perfect Loaf, a fantastic resource for sourdough lovers.
Mix the Dough
Once your starter is bubbly and ready, it’s time to mix your dough. In a large mixing bowl, combine:
- 500g of flour
- 350g of water
- 10g of salt
- 100g of your activated sourdough starter
Mix everything until there are no dry flour clumps. It’s okay if it looks a little shaggy at this point; it will come together during kneading.
Knead with Love
Now comes the exciting part—kneading! Transfer your dough onto a floured surface and fold and stretch it. Aim for about 10 minutes of kneading to develop that gluten and ensure a good rise. Don’t forget: you’re not just breaking a sweat; you’re building character in your loaf.
Bulk Fermentation
Once your dough is kneaded, return it to the bowl, cover it with a damp cloth, and let it rise. This step usually takes around 4 to 6 hours, depending on the ambient temperature. During this time, perform a series of stretch and folds every 30 minutes to help build structure—this is where your loaf starts to take shape.
Shape the Dough
After the bulk fermentation, it’s time to shape your dough. Gently turn it out onto a lightly floured surface, and using your dough scraper, gently form it into a round shape.
Now, let it rest for about 20 minutes—this “bench rest” helps relax the gluten. After resting, perform the final shaping, making sure it’s tight enough to hold its shape.
Proofing Phase
Your shaped dough now needs to proof. Place it into a banneton or bowl lined with a floured cloth. Cover it and let it rise for about 2 to 4 hours—this is the moment your dough fully develops its amazing flavor and texture. If you’re short on time, you can proof it in the fridge overnight (a method I’ve found enhances the flavor!).
Bake Your Masterpiece
Preheat your oven to 450°F (230°C) about 30 minutes before you’re ready to bake. If you’re using a Dutch oven, place it in the oven during this time to heat up. Once preheated, carefully transfer your dough onto parchment paper, score the top with a sharp knife or razor, and gently place it in the hot Dutch oven.
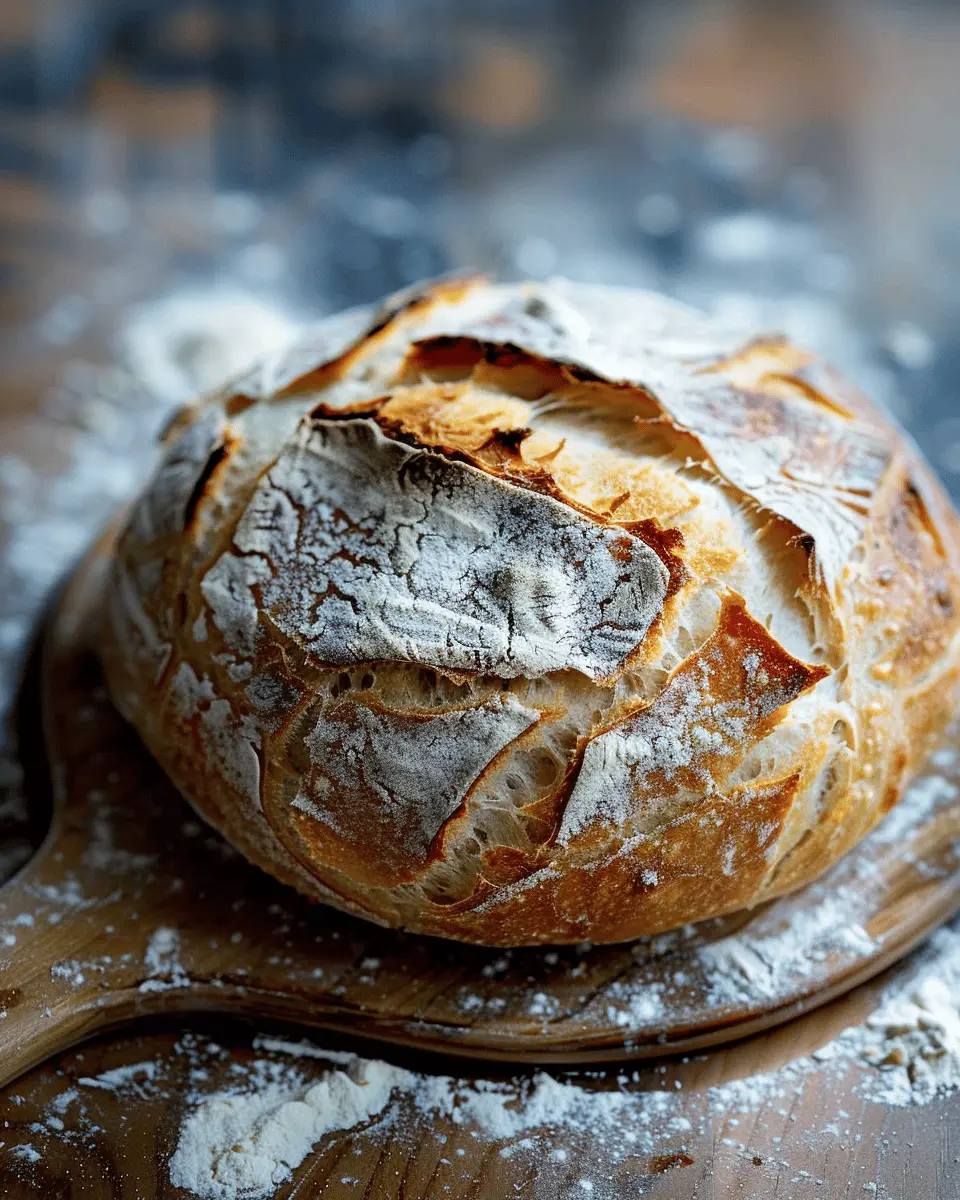
Cover and bake for 30 minutes, then uncover and bake for an additional 15-20 minutes until it’s golden brown and crackly. Congratulations, your homemade sourdough bread is ready to impress!
Baking sourdough at home may seem daunting at first, but with each loaf, you’ll feel more confident in your skills. Plus, the satisfaction of pulling a perfectly baked loaf from the oven is unmatched. So, gather your materials, roll up your sleeves, and let that starter do its magic!
Variations on Homemade Sourdough Bread
Exploring variations of homemade sourdough bread can elevate your baking game and impress your friends. Whether you’re up for a rustic loaf or craving something with a twist, there’s a sourdough style for every occasion.
Rustic Sourdough Variations
For a truly authentic touch, try incorporating whole wheat or rye flour into your sourdough mix. This not only enhances the flavor but also adds nutritional benefits. When exploring rustic flavors, consider adding:
- Seeds: Flax, sunflower, or sesame seeds for a satisfying crunch.
- Dried fruits: Raisins or cranberries can provide a sweet contrast to the bread’s tanginess.
These additions help create a textural contrast that keeps every bite interesting!
Herb-Infused Sourdough
Bring vibrant flavors to your homemade sourdough bread by infusing it with fresh herbs. Incorporating ingredients like rosemary, thyme, or even basil into your dough can transform the taste and aroma. Here’s how to do it:
- Chop fresh herbs finely before folding them into the dough during the kneading phase.
- Experiment with combinations: Why not try rosemary with garlic or dill with cheddar cheese?
Adding herbs not only enhances flavor but also makes for an eye-catching loaf that’s perfect for serving at gatherings.
Whole Grain Sourdough Options
If you’re health-conscious or simply want to try something different, incorporating whole grains into your sourdough can be a game-changer. Whole wheat flour or even spelt flour adds a nutty flavor while increasing the loaf’s fiber content. Here are some tips:
- Mix flours: Combine regular and whole grain flours for a balanced texture.
- Increase hydration: Whole grain flours absorb more water, so adjust your liquid content accordingly.
Experimenting with these variations can not only enhance flavor but also provide a great way to introduce new textures and nutrients into your diet. Why not take a leap and create your own unique combination? Happy baking!
Cooking Tips and Notes for Homemade Sourdough Bread
Common pitfalls to avoid while baking
Baking homemade sourdough bread can be a fulfilling endeavor, but there are a few common pitfalls to watch out for:
- Inaccurate measurements: Use a kitchen scale to ensure you’re measuring ingredients precisely. This is crucial, especially with flour and water ratios.
- Neglecting the starter: Make sure your sourdough starter is healthy and bubbly before you use it. It should be fed regularly for optimal fermentation.
- Ignoring temperature: Keep an eye on your dough’s temperature during fermentation. It should ideally be around 75°F to 80°F. Too cold and it will ferment too slowly; too hot and you risk ruining the flavor.
How to maintain your sourdough starter
To keep your sourdough starter lively and vigorous:
- Feed it regularly, ideally once a day if stored at room temperature.
- Use equal parts of water and flour to feed it, mixing well.
- Store it in the fridge if you don’t plan to bake often; just remember to bring it back to room temperature before using.
By following these tips, you’ll be well on your way to crafting perfect homemade sourdough bread! Want to dive deeper into sourdough techniques? Check out this comprehensive guide on sourdough baking. Happy baking!

Serving Suggestions for Homemade Sourdough Bread
Perfect toppings for sourdough
When it comes to homemade sourdough bread, the right toppings can elevate your meal to the next level. Here are some delightful options to consider:
- Avocado: A classic! Spread ripe avocado on a warm slice, sprinkle with salt, and enjoy the creamy texture.
- Turkey Bacon: For a savory twist, layer on some crispy turkey bacon and a drizzle of sriracha for an added kick.
- Cream Cheese and Chives: This makes for a light yet flavorful spread perfect for brunch.
Pairings with soups and salads
Imagine a cozy evening with a warm bowl of soup or a fresh salad complemented by your homemade sourdough bread. Here’s how to pair them perfectly:
- Chili: Nothing beats tearing off a piece of sourdough to scoop up your favorite chili.
- Butternut Squash Soup: The sweet, nutty flavors of this soup harmonize beautifully with the tangy undertones of sourdough.
- Caesar Salad: Use toasted sourdough croutons in your salad for an added crunch.
With these serving ideas, your homemade sourdough bread will not just be a side, but a star of the meal. For more inspiration, check out Bon Appétit for delicious recipes that can complement your bread.
Time Breakdown for Homemade Sourdough Bread
When embarking on your journey to make homemade sourdough bread, knowing the time commitments can help you plan your day, even amidst a busy schedule. Here’s a concise breakdown:
Preparation Time
- Around 30 to 45 minutes: This is when you’ll gather ingredients, mix your dough, and shape it. Don’t rush—this part is where the magic starts.
Fermentation Time
- 12 to 24 hours: This critical phase includes bulk fermentation followed by proofing time. Your dough needs to develop flavor and texture, so patience is key (plus, it’s ideal for brunches!).
Baking Time
- 30 to 45 minutes: Preheat your oven and bake until golden brown. The aroma of baking bread is unbeatable!
Total Time
- At least 12 hours plus: While this may sound extensive, much of this time involves waiting and that’s where you can enjoy doing other things!
Trying your hand at homemade sourdough bread not only fills your kitchen with delightful smells but also allows for a rewarding baking experience. If you’re looking for more tips on timing and techniques, check out King Arthur Baking for professional insights!
Nutritional Facts for Homemade Sourdough Bread
When you whip up a loaf of homemade sourdough bread, you’re not just indulging in a delightful treat—you’re also nourishing your body. Here are some key nutritional facts to keep in mind:
Calories
A typical slice of homemade sourdough bread contains about 80 to 100 calories. This can vary depending on your recipe and portion size, but it’s a satisfying and energy-boosting choice for your daily meals.
Carbohydrates
In each slice, you’ll find around 15 to 20 grams of carbohydrates. These are essential for fueling your body, especially if you’re hitting the gym or heading to work.
Fiber Content
One of the standout features of homemade sourdough bread is its fiber content. Typically, it offers about 1 to 2 grams of fiber per slice. Fiber is key for digestive health and can help keep you feeling fuller longer.
Not only is sourdough a delicious option, but when made at home, you can control the ingredients, boosting its nutritional value even further. For more tips on healthy baking, check out resources from Nutrition.gov or Harvard Health.
FAQs about Homemade Sourdough Bread
How do I know my sourdough is ready to bake?
The moment of truth has arrived! Knowing when your homemade sourdough bread is ready can be a little tricky, but it gets easier with practice. Look for these signs:
- Doubling in Size: Your dough should have approximately doubled in size during its rise.
- Bubbles: The presence of small bubbles on the surface or throughout your dough indicates healthy fermentation.
- Poke Test: Gently poke the dough. If it springs back slowly, it’s ready; if it deflates quickly, give it more time.
Can I make sourdough bread without a starter?
While a traditional sourdough starter contributes to that signature tangy flavor, you can experiment with alternatives! Using yeast from the air or even commercial yeast can help you create a different bread type. However, you might miss that delightful complexity that a well-maintained starter provides.
What can I do with leftover sourdough starter?
Don’t toss that starter! It’s a baker’s goldmine. Here are a few ideas on how to use your surplus:
- Pancakes or Waffles: Incorporate it into your breakfast for naturally fermented deliciousness.
- Flatbreads: Use it as a base to whip up quick flatbreads or even pizza dough.
- Gift it: Share your starter with a fellow baking enthusiast!
For more creative ways to use your starter, check out resources like The Spruce Eats. Making homemade sourdough bread can be a wholesome journey, and each step brings you closer to baking perfection!
Conclusion on Homemade Sourdough Bread
Embrace the joy of making your own sourdough!
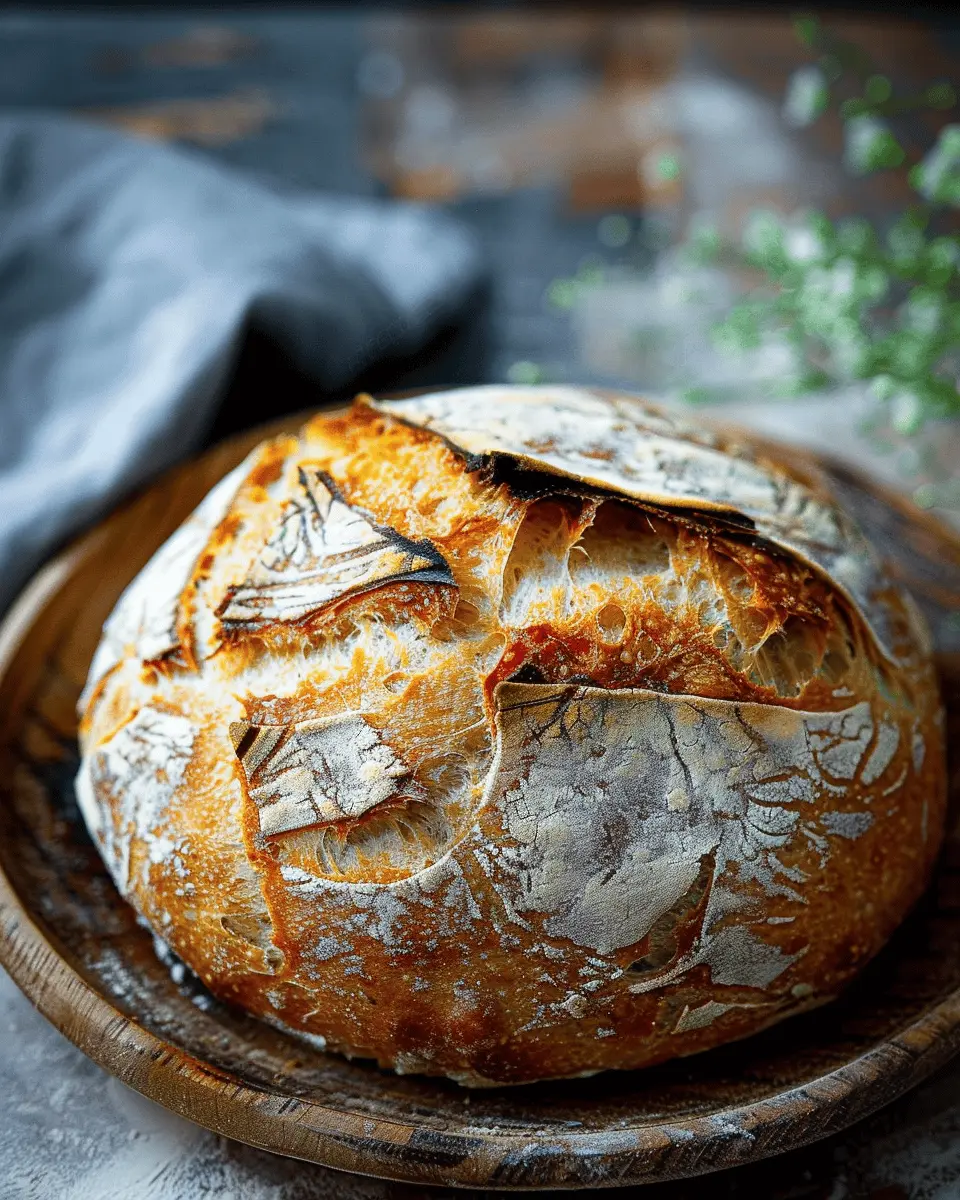
The journey of creating homemade sourdough bread is not just about the final product; it’s about the entire experience. From nurturing your starter to kneading the dough and finally watching it rise, each step brings a sense of accomplishment. It’s therapeutic and rewarding, offering a delightful break from daily routines.
Whether you’re sharing a warm loaf with loved ones or enjoying it solo, the flavors and aromas of fresh sourdough are unmatched. So grab your ingredients, roll up your sleeves, and start this exciting culinary adventure—your kitchen will thank you! For more inspiration, check out King Arthur Baking’s blog for additional tips and tricks.
PrintHomemade Sourdough Bread: The Easy Step by Step Guide

This guide will walk you through the process of making delicious homemade sourdough bread, step by step.
- Prep Time: 30 minutes
- Cook Time: 45 minutes
- Total Time: 5 hours 15 minutes
- Yield: 1 loaf 1x
- Category: Bread
- Method: Baking
- Cuisine: American
- Diet: Vegetarian
Ingredients
- 500 grams bread flour
- 350 grams water
- 100 grams sourdough starter
- 10 grams salt
Instructions
- In a large bowl, mix the bread flour and water until combined. Let it rest for 30 minutes.
- Add the sourdough starter and salt, then knead the dough until smooth.
- Let the dough rise at room temperature for 4-6 hours until doubled in size.
- Shape the dough into a round and place it in a floured proofing basket. Let it rise for another 2 hours.
- Preheat your oven to 230°C (450°F) and place a Dutch oven inside to heat up.
- Carefully place the dough into the hot Dutch oven, cover, and bake for 30 minutes.
- Remove the lid and bake for an additional 15-20 minutes until golden brown.
- Let the bread cool on a wire rack before slicing.
Notes
- Make sure to feed your sourdough starter 8 hours before using it.
- For a tangier flavor, allow the dough to ferment longer.
Nutrition
- Serving Size: 1 slice
- Calories: 200
- Sugar: 0.5 grams
- Sodium: 400 milligrams
- Fat: 1 gram
- Saturated Fat: 0 grams
- Unsaturated Fat: 0.5 grams
- Trans Fat: 0 grams
- Carbohydrates: 40 grams
- Fiber: 2 grams
- Protein: 6 grams
- Cholesterol: 0 milligrams
Keywords: Homemade Sourdough Bread, Step by Step